New DIY blogging room reveal is so exciting for me! Follow along with me on a tour of my new DIY blogging room design. This room only uses natural lighting from custom-made 26-foot store-front glass windows exposing mountain views and creating natural light.
This whole video below was shot with my iPhone 11 Pro max and the natural light from the windows and the LED recessed lights.
Table of Contents or Collapse to Hide
Why build a blogging room?
Even though we live in a relatively large home, I knew I wanted a designated blogging room. One that had natural lighting, a wood stove to cook on and overhead camera tracks. Raymond and I started this over a year ago on my birthday.
I already changed some of the original ideas that you will see in the video. Changing something until it feels “right” is a normal thing to do for us. If it means, revamping or starting over, then that is what we do. I never want to feel “boxed in” and unable to make a change.
DIY drop-down table with spring hinges
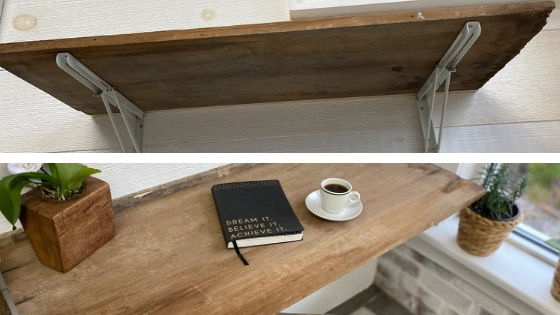
A table is a must for writing, journaling, and creating ideas. This wall-table is something we created to do just that. I bought the antique board from a local antique store for $10.
I use this table when the loom is not here. It pops up and down so I can eat my breakfast and watch the sunrise. The little back lip on the table is from a pallet board that we used for the landing strips on the wall.
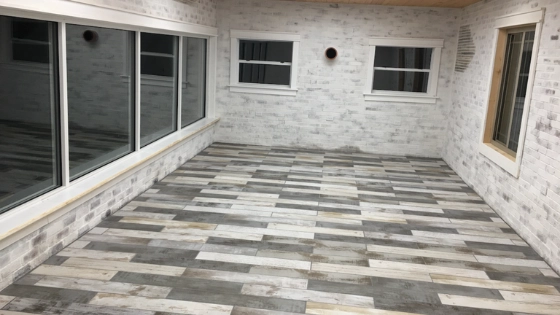
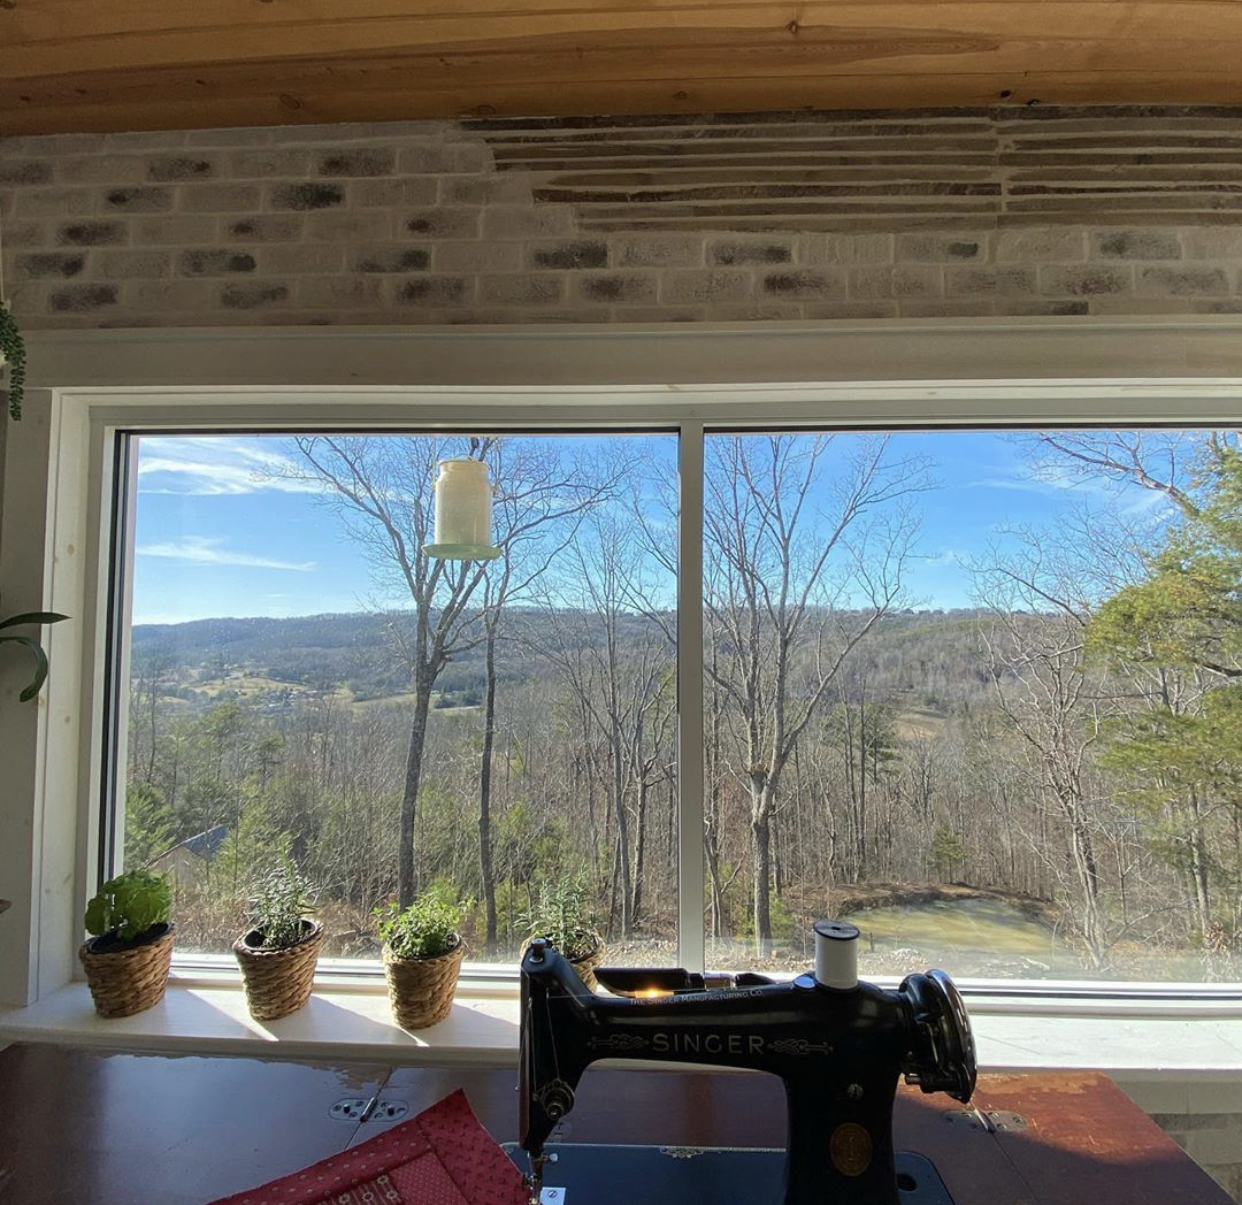
Custom Windows for Natural Light
Onto the windows. These bad boys are custom made from our local glass company whom we use a lot to make mirror glass tops for tables. We did have to pay them to install them since we didn’t want to be responsible if we broke or cracked them.
You should have seen them coming up the mountain! It was well worth the extra labor. Each window is a 3 x 5 and solid glass just like the commercial storefront. It does get extremely hot here in the summer, but we did purchase a new HVAC unit at the end of fall for a very good price.
Watch the Blogging Room Reveal Video
[embedyt] https://www.youtube.com/watch?v=2pddJS6o-80[/embedyt]
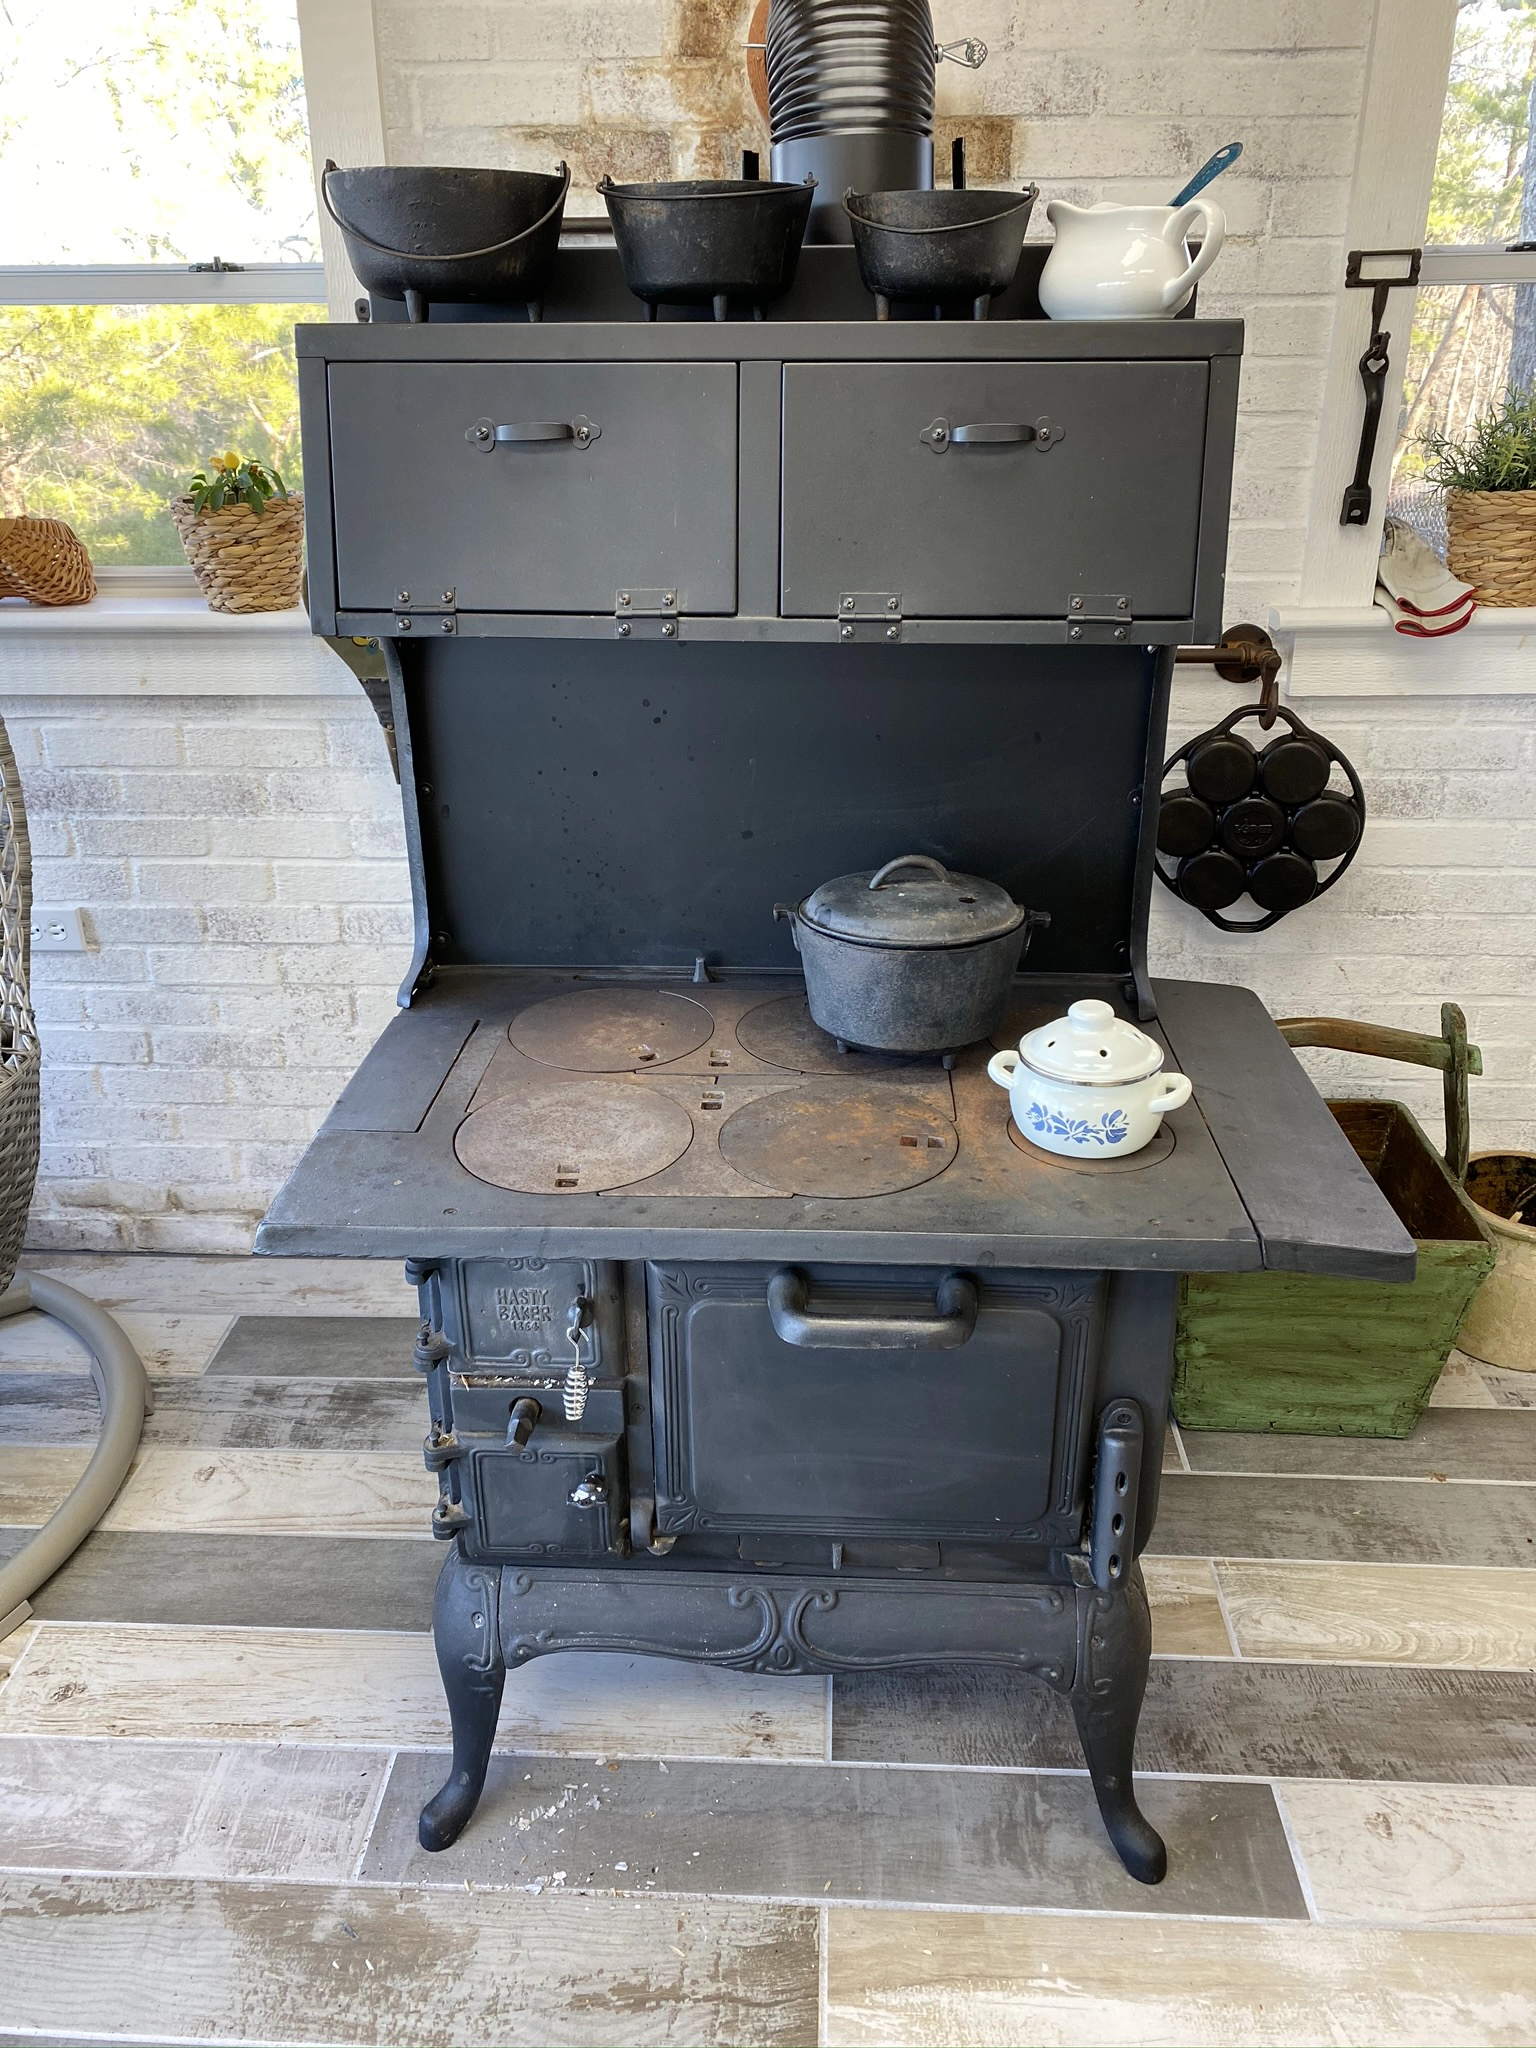
Wood Cookstove Review
Onto my new wood stove. I absolutely love this. It is a “Hasty Baker 1854” version. We found it on Facebook Marketplace for $600 and Ray picked it up. It was about a 2-hour drive each way. I prefer to hang my cast irons on my back wall where they are out of view.
This stove has 2 warming oven drawers. I also use them to store utensils when I am not using them. It is great when I want to proof yeast on a cold day. Today, I am making bone broth for my fur-babies.
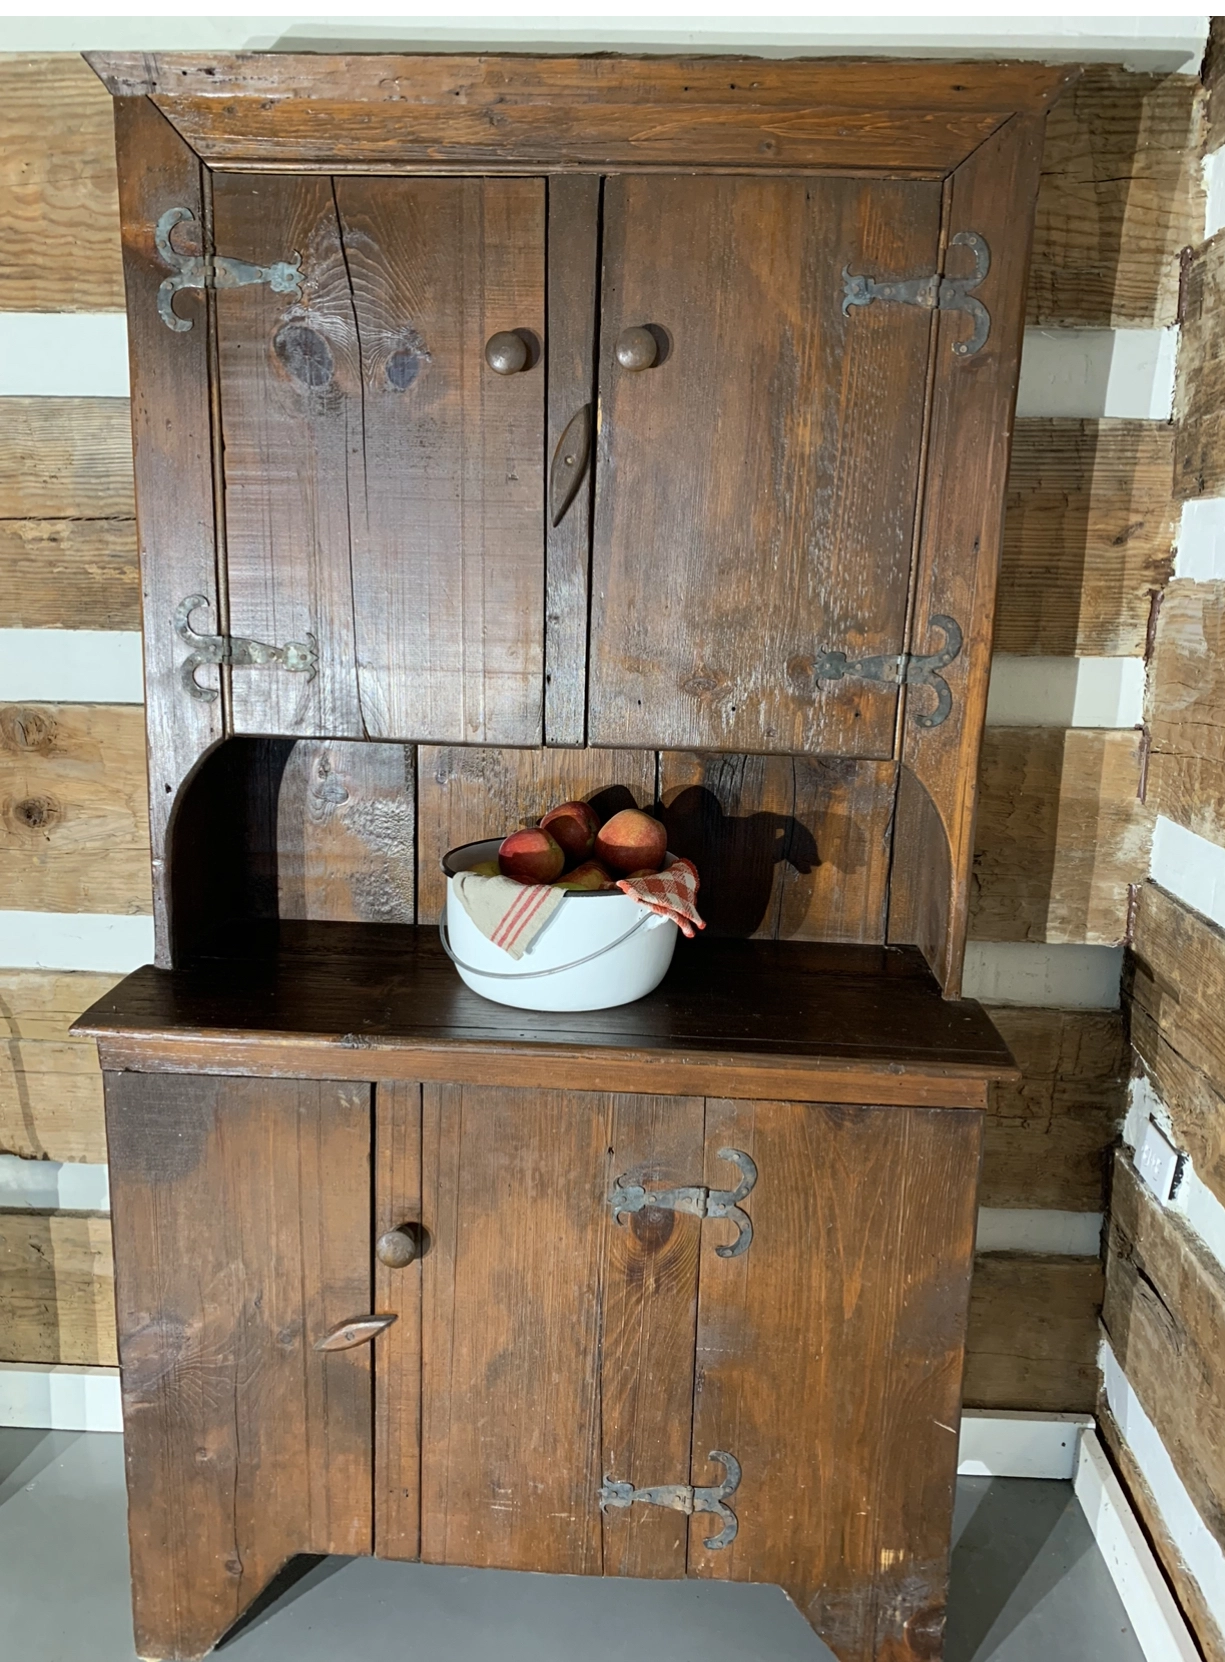
Farmhouse Decor
The cabinet is my antique 1700’s antique hutch I had in the other room before I brought it in the blogging room. It now houses the ingredients and tools when I do my cooking and baking videos in the new blogging room.
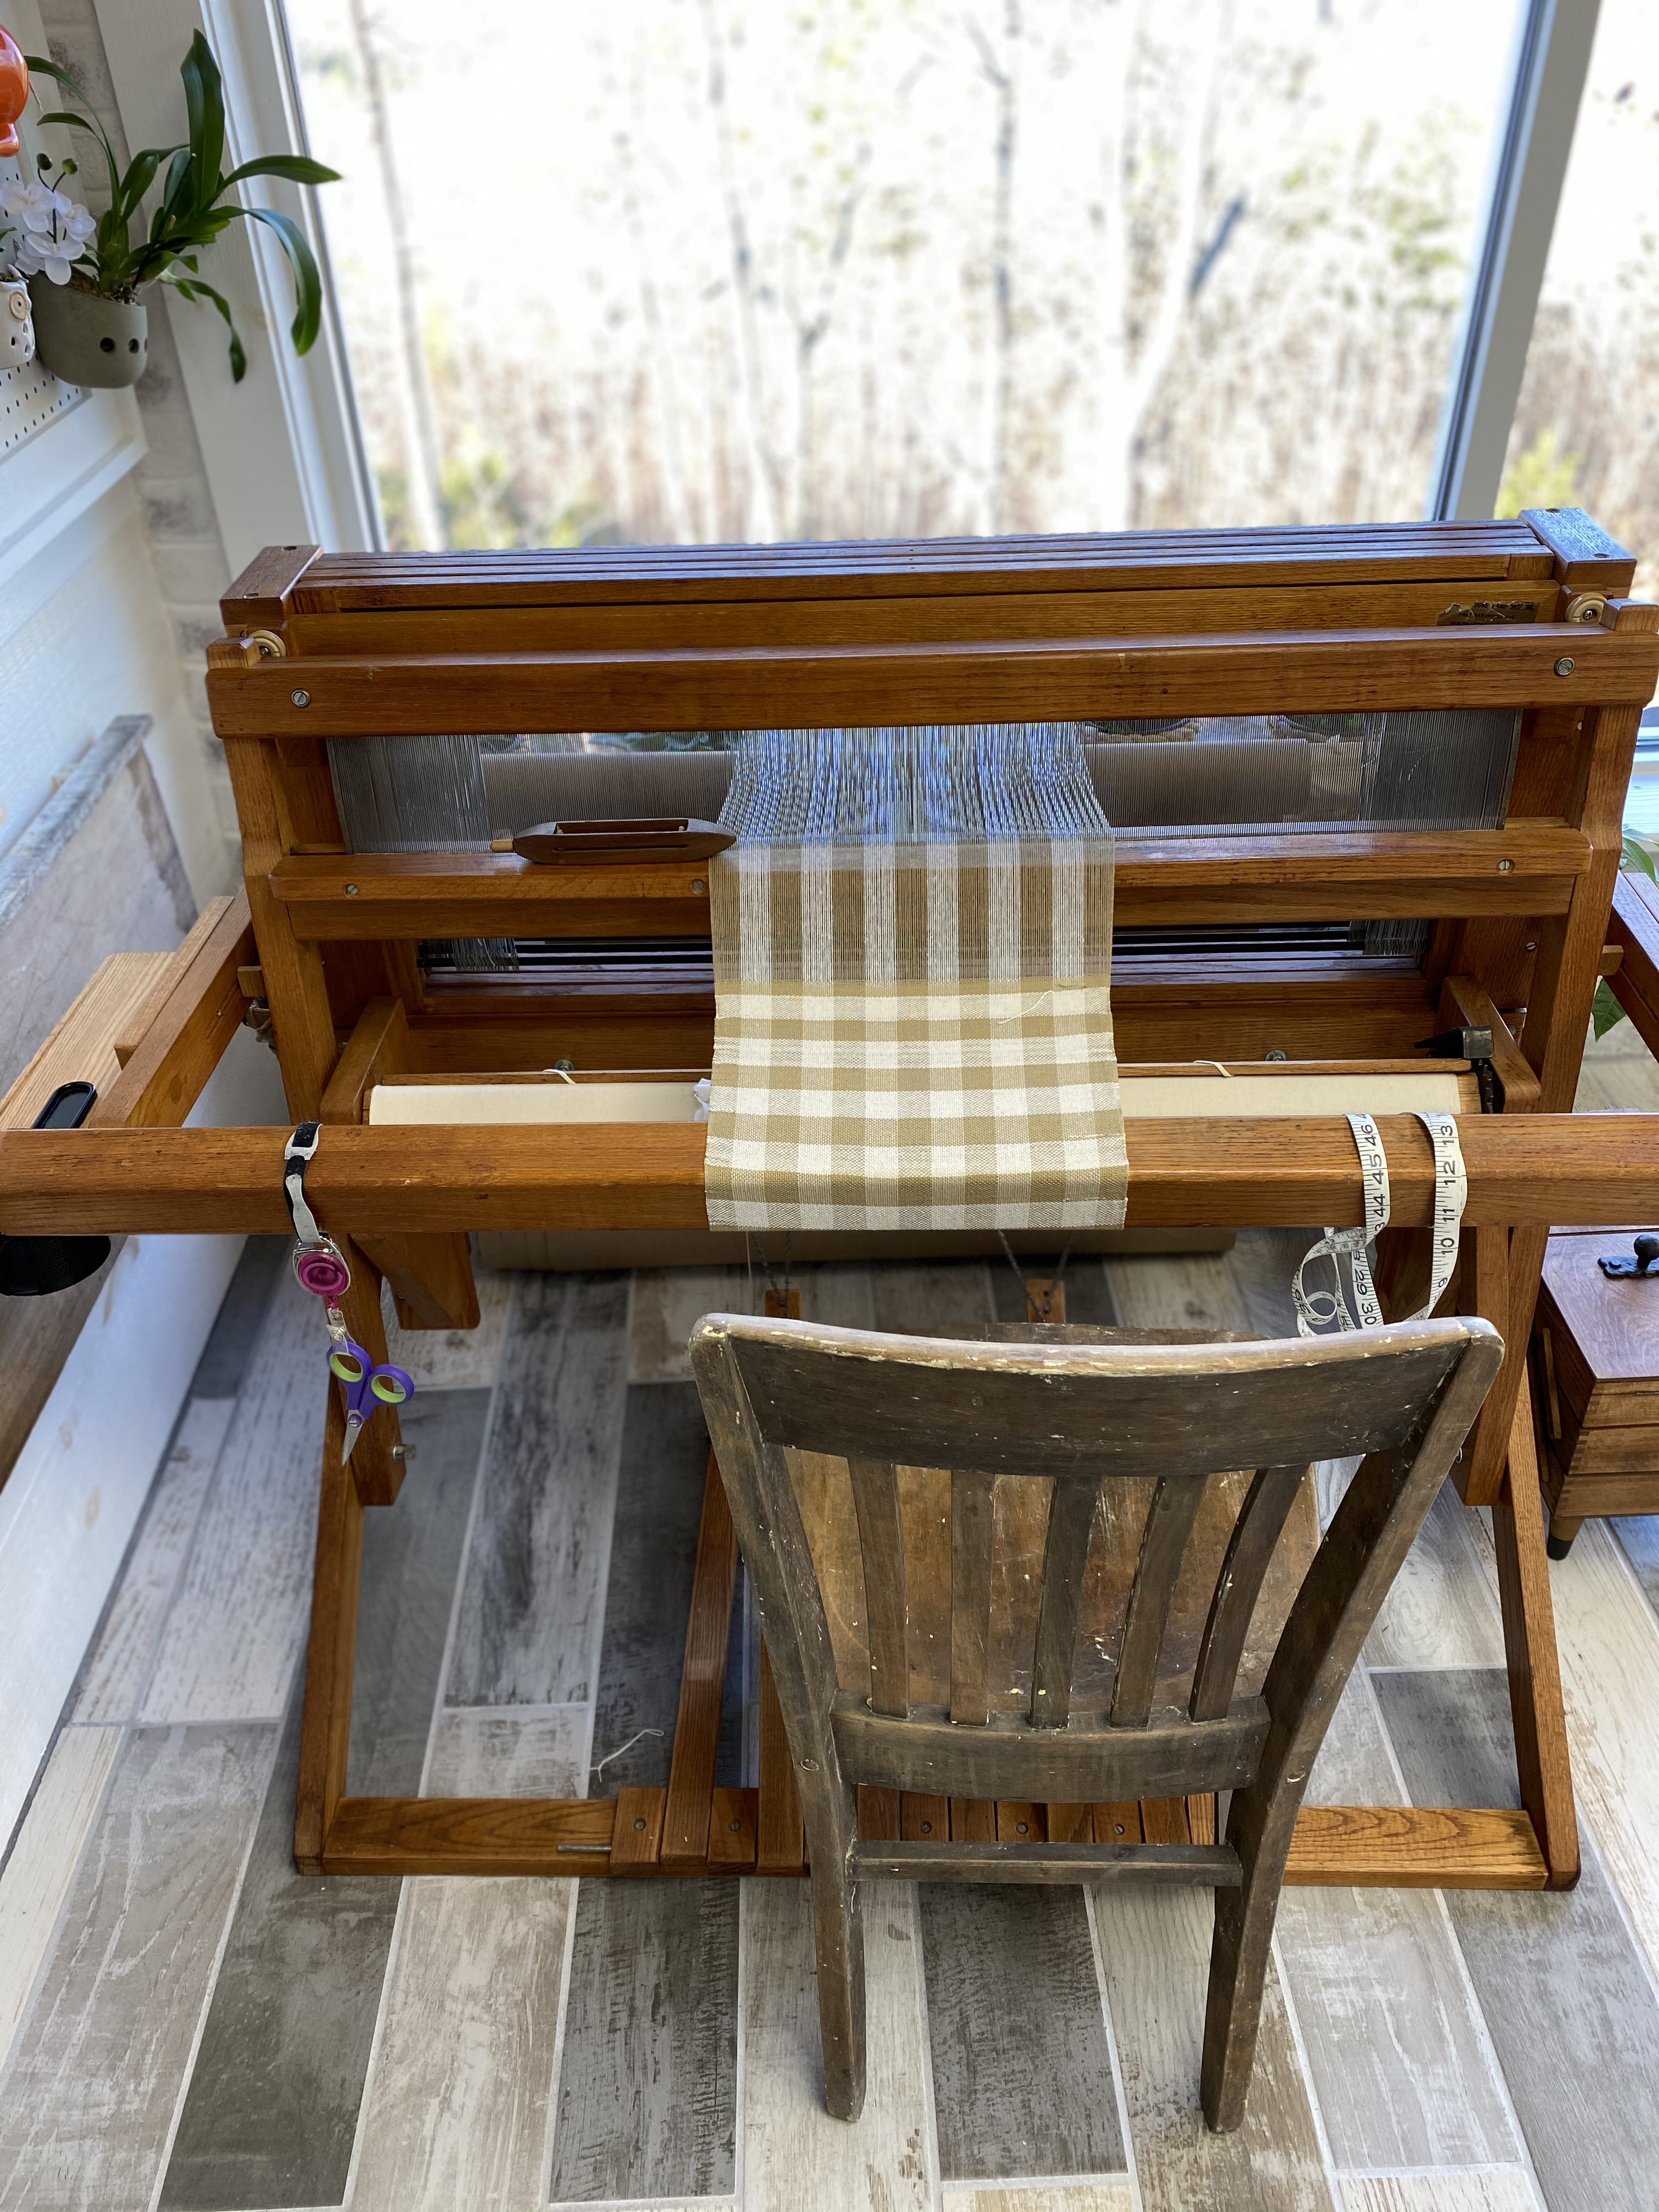
Weaving and Sewing
I will be doing blogs and videos on weaving and sewing projects in the new blogging room. There is plenty of space to do it all.
Below are the cotton washcloths that I am presently working on. There is my singer old fashioned sewing machine I got a few weeks ago for $45. In this picture, the sewing machine is in the place where the loom is right now, so I do swap them out and I still have that great view.
DIY and Thrift Store Decor
The first mirror you saw in the intro, the round one, I actually made from a $2 clock from a garage sale that’s inside the house. I found the other brass one at our local Good Samaritan Thrift Store for $15.
That white little table, I got from my friend’s shop. It houses all of my dehydrator trays and mats.
The wooden basket Ray and I made over 30 years ago. I now use it for herbs, but back in the day, I used it as a dough rising basket.
Thrift Store Finds for Construction

The door for the entrance to the blogging room, we got for half-off at the Restore. It was $40, we got it for $20. As you can see in the video, it was plain and then we stained it and hung a barn rail on it which we have several barn rails over the house. I’ll leave the link in the description from Amazon.
That is the before and that’s once it is stained. And here is the final reveal. The handle came from Hobby Lobby and the glass I created doing a faux mercury glass. If you’d be interested in a full video on how I mercury glass, leave a comment in the description below with “yes you’d be interested in mercury glass”.
DIY Camera Ceiling Mounts
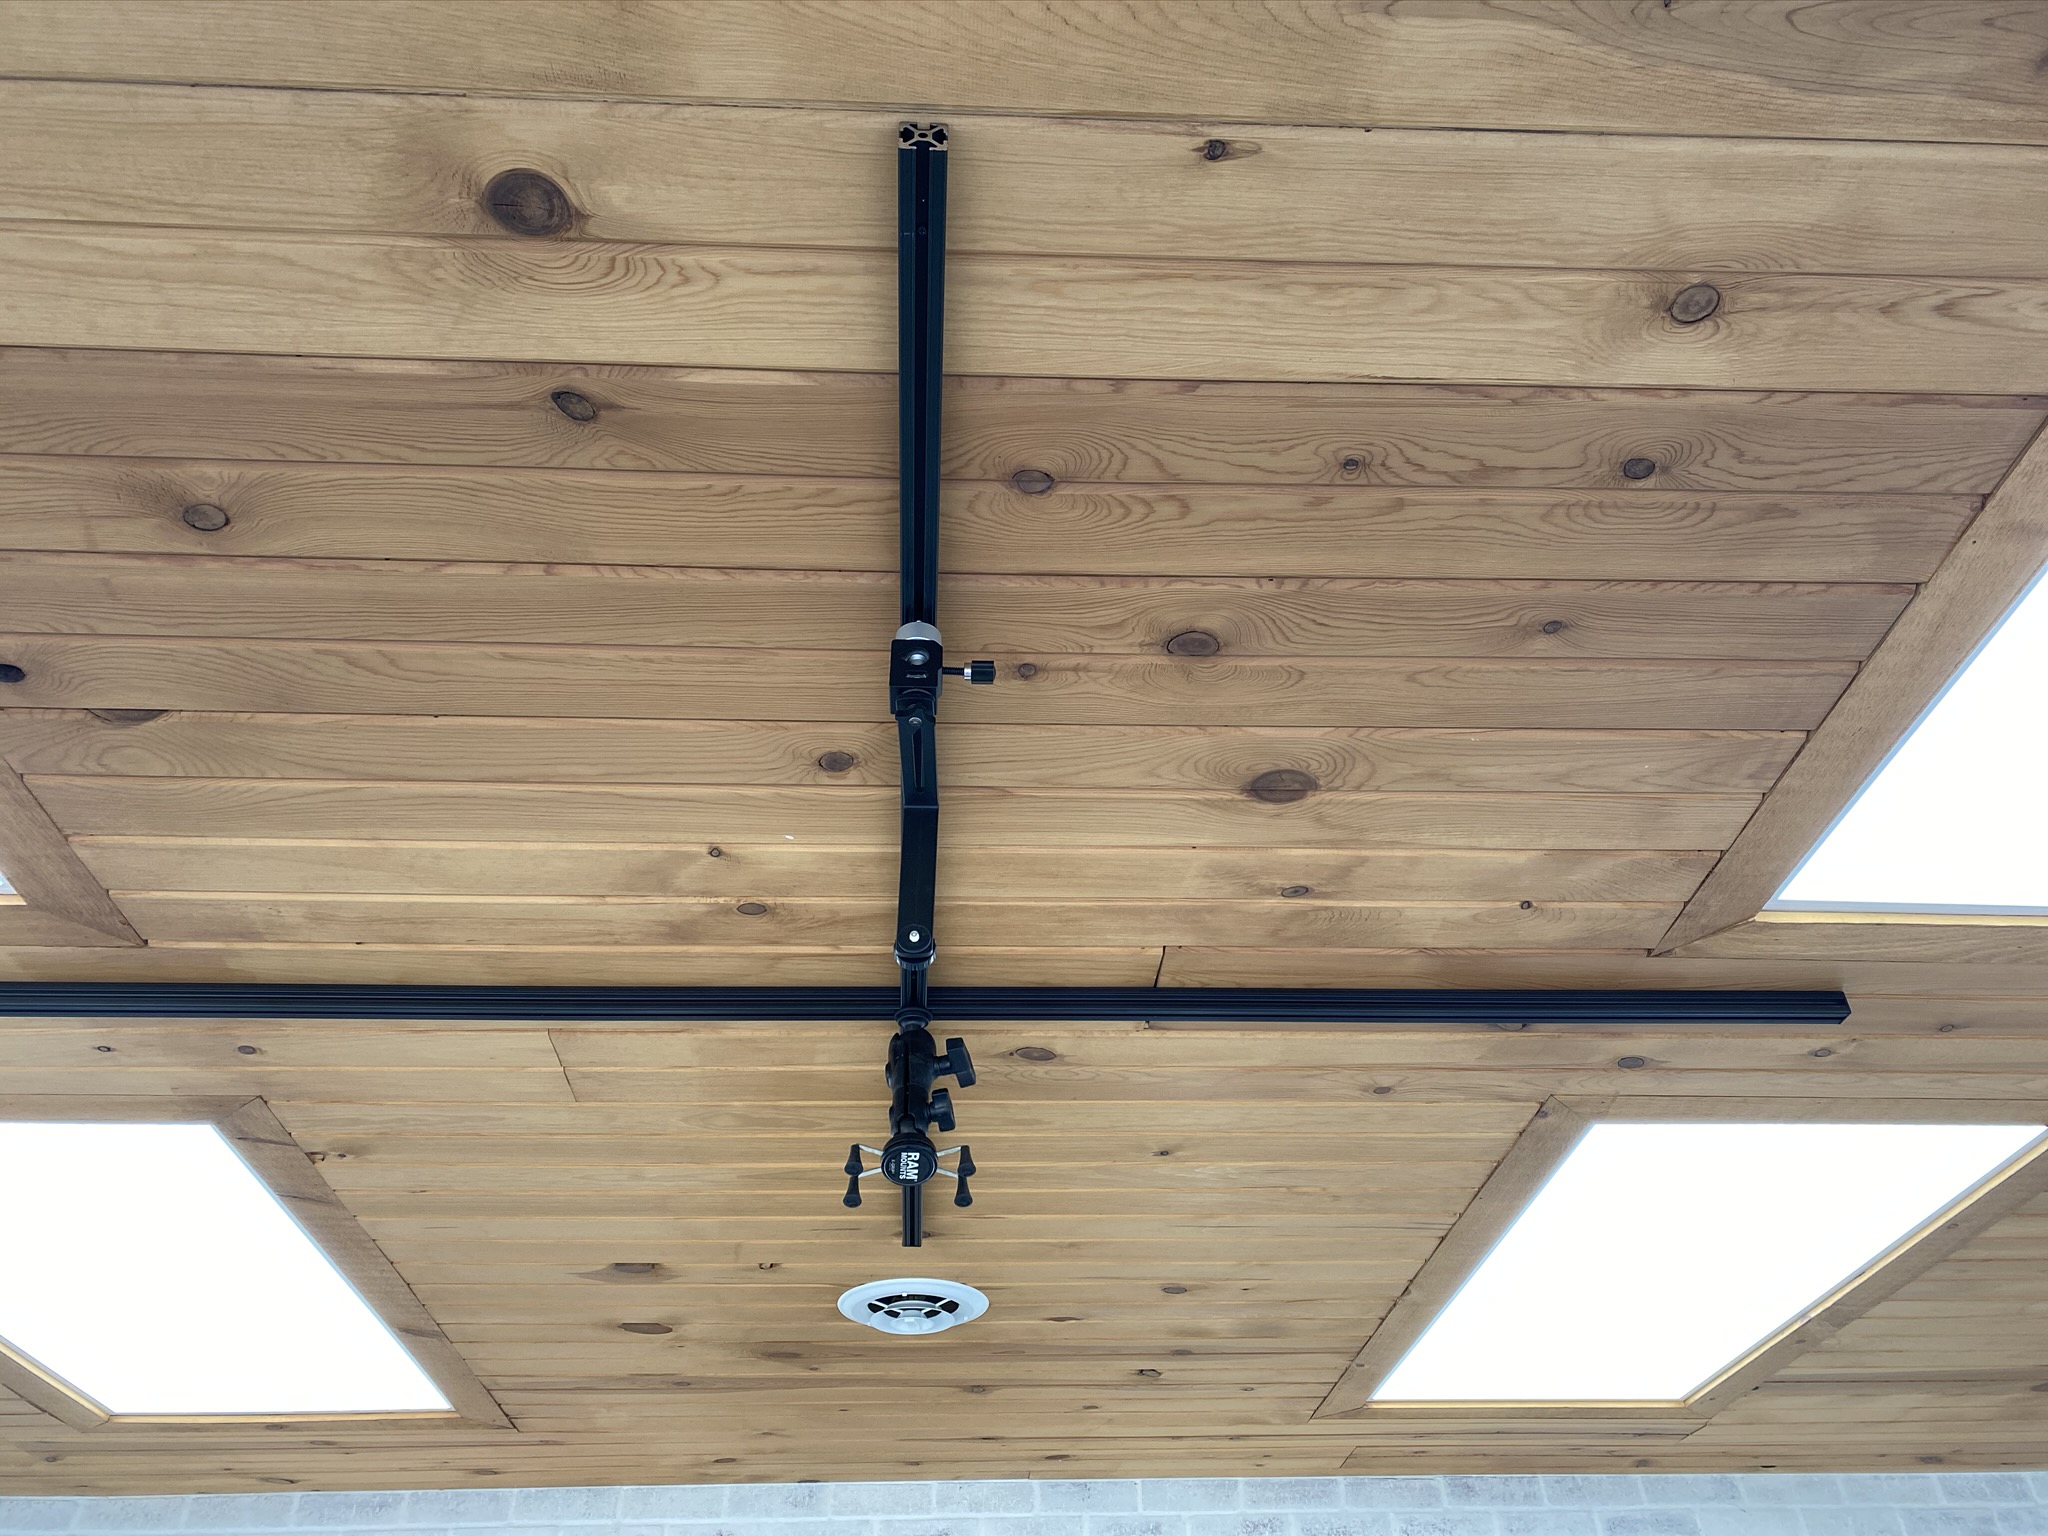
The ceiling tracks we installed last week. The first houses the iPhone and the second one will house one of my Canon cameras so I can do overhead B-roll shots. Ray and I actually did a whole video on this that I have to edit, but it showed how to install the tracks and the holders for the iPhone and for the camera role. I’ll be putting that out next week.
Blog posts mentioned in this video are:
Himalayan lamp blog post and video link
How to limewash brick blog post and video link
Shop Here
We are a participant in the Amazon Services LLC Associates Program, an affiliate advertising program designed to provide a means for us to earn fees by linking to Amazon.com and affiliated sites.
You will not incur extra fees or charges for using the links. We only recommend items we believe in and have tried. If I personally make or sell an item, I will mention this in the post for each item.
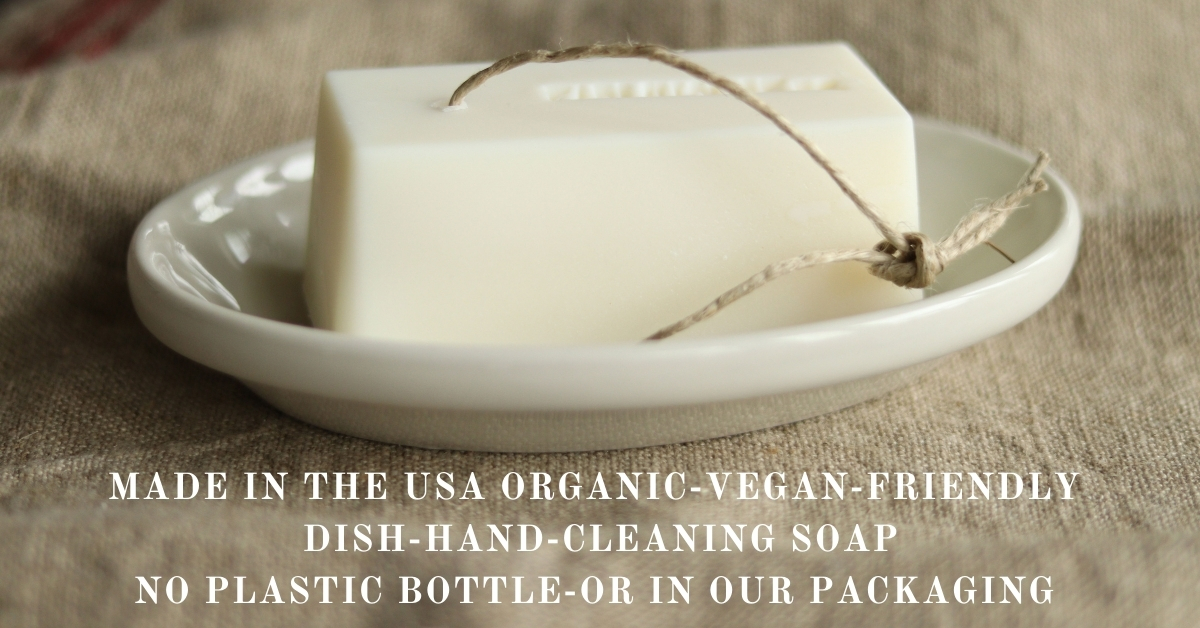
Click on the Bar of Dish Soap to Visit Our Amazon Storefront!
Boeray 16″ Folding Shelf Bracket can be found on Amazon
Barn rail can be found on Amazon

Pingback: DIY camera mount ceiling track installation - Farmhouse Basic Collection.
Thanks, Susan, I enjoy the cookstove, I will miss it in the summer 🙂
Thanks for the nice words, Lindsay 🙂 I love cooking on a woodstove and in a fireplace 🙂
Thank you Aly, it never gets old! Thanks for stopping by 🙂
That view is incredible!
What a cool space. So many people use their kitchen as a main blogging space, but I love this idea. Especially with that wood stove!
So envious of your woodstove and that view! Lovely!!
Thanks, Jennifer and for stopping by today 🙂
Thanks, Laura, I had this in mind when I built this room. Hopefully, between the video tracks and the big windows, will help with my videos 🙂
Thanks, Laura, we are actually doing more over the woodstove-now to learn how to use the cameras! lol
Wow!! Love the overhead tracks for video, so creative. Great space!
Oh my gosh I want this whole room in my house!! How cool! I love the video tracks!
This space looks amazing!!!
Thanks, Jennifer-I will do the mercury glass next video. It’s super easy and thank you for asking, it will give me the added push to do something for you and others that have asked 🙂
Thanks, Alexa, the cost was the most for this whole project, but well worth it 🙂
Thanks, Sylvia, I am very grateful each day I get to use it. My hubby is always looking out for me 🙂
Thanks, Jen, from doing all the work ourselves, makes it all the better-thanks for commenting today, I appreciate that 🙂
What an amazing space! You must be so excited!
I am in love with that 1700’s hutch. I would probably swoon if I saw it in person. Your blogging room is incredible and I wish I had one! I still need to watch the video, but it’s on my watch list! Thank you so much for giving us the tour <3
This is amazing. Seriously window envy! Good for you for being so dedicated to your passions! That is wonderful!
Jersey, what an awesome space in which to create! Simply amazing! I would love a video on doing the mirror effect. I’m going to make a barn door for the reno we’re doing on a college house for my daughter. Loved your guineas too!
LOL, Elise, you always make me smile with your talents, Olive and Jersey Boy-you always bring a smile each day!
Thanks, Jenn, you’re very kind 🙂
Yay for you!!! This is an amazing space! Your hard work has paid off! Great work on the video too!
I’m not going to lie….I am so jealous!!!!! Lol! No, I’m so happy for you, Jersey! It looks like an ideal blogging room! Wow! The stove, the camera tracks, the WINDOWS!!!!! Oh my goodness. Love it all!