Drying herbs 101 is everything you will need to know. There are many methods of drying herbs. Some are even free! You will find in this article how to dry herbs, different methods of drying herbs as well as how to use and store the dried herbs. But, everything starts with picking and drying.

Maybe you pick herbs growing in the wild. Or as a long-time gardener, growing on my land, in rocks, containers, or even on a windowsill. Whatever the origin of the plant, you must apply the right methods of drying once you have done your harvest.
Table of Contents or Collapse to Hide
Why I Chose to Grow and Dry Herbs
This is a post that is close to my heart. Our family had the need to take back our health by making and growing our own herbal products. Drying herbs can be a great learning experience for young children. We started our son using paper bags and had him label them as part of his homeschool curriculum.
Each year he would add to his own “seed catalog” what and where he picked the plants to dry for herbs or seeds to replant the following year. For a decade we grew and saved seeds, leaving a wonderful memory that will last a lifetime.
How to Pick Herbs for Drying
The action and effectiveness of dry plants depend directly on the quality of drying. The plant, as a living being, will gradually lose its properties after harvest. This is normal.
Our goal is to make it undergo irreproachable drying in order to keep it as long as possible. And to preserve the quality of the plant after its picked.
- Always try and pick your herbs right around the time you see the first flowers start to appear on the plant. This indicates the plant is mature and is the best time. You may prune or snip during the plants’ growth to encourage more growth rather than having a leggy plant.
- Never take more than one-third of a plant’s leaves at a time, this will shock the plant. Once the plant flowers, it starts to turn bitter in taste and loses its potency.
- Pick first thing in the morning or late in the evening after the sun is not directly on the plant. I like picking at night, that’s my preference. Ensure the plant was well watered too.
- Clean as much as possible. I rarely wash my herbs. Since I grow them in pots they tend to stay clean. We do not use chemicals that need to be washed off either. Giving a good shake usually releases any bugs or dried soil on the plant.
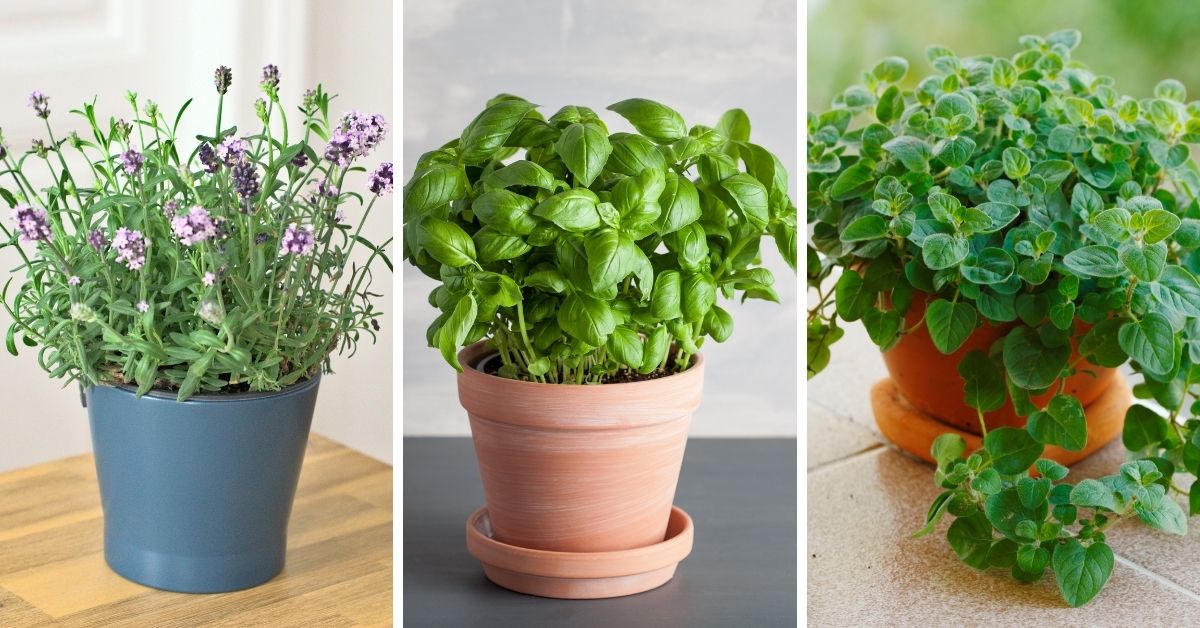
I have a whole post on How To Prune Basil you may find interesting since basil is a great herb to start with for drying.
How to Dry Herbs
- Dry – moisture is the enemy of good drying. Some plants, especially those containing mucilage, will overflow with water at the first opportunity.
- Well ventilated – this follows from the first point. The room must have openings to circulate the air. Professionals use a ventilation system. I hang mine upstairs where it is very dry, warm, and a good breeze when the window is open.
- Sheltered from the sun – some will not agree with this point. As far as I am concerned, I strongly insist: the UVs of the sun destroy the fragile constituents of plants.
- With a mild temperature – around 70-90 degrees being ideal. I use a dehydrator and it has a setting for herbs. I will list it in the shop section.
Cleaning Herbs for Drying
- Before starting the drying stage, examine the plant, remove bugs, dead or bruised leaves, etc.
- Spread out the plants on a table and remove any part that does not look like the desired medicinal plant.
- Then leave the plant well spread out for a few hours outdoors, always in the shade, to let the insects go.
- If you have a hinged screen, this works well to let the air through and the bugs out.
- We can then isolate the parts of the plant that interest us: detach the leaves from the stems, detach the flowers from the stems, etc.
- This operation can also take place after drying, which is necessary if you dry in the bouquet.
Herb Drying Methods
- The idea is to use drying racks. These racks are placed on a vertical structure and handle like drawers.
- They are not very complicated to build. The trays consist of a frame made with wooden cleats. At the bottom of the frame is nailed a mesh fine mesh. On the top of the wire mesh is stapled (inside the frame) a piece of mosquito net.
- The size of your racks will depend on the space available to place your drying column (the structure that will accommodate the racks).
- In a very simple way, for small amounts of plants, we can stack crates with bottom holes or crates on top of each other and improvise small portable racks.
Using Dehydrators to Dry Herbs
Dehydrators are cheap and easy to find, it is generally used to dehydrate fruits, vegetables, and meats! It has several layers of trays/racks and can be convenient for drying a small number of plants requiring quick drying without moisture.
It often has a dial to choose the desired temperature, at least warm for fragile herbs. Drying time can be anywhere from 2 to 8 hours depending on the humidity, the thickness of the herb or type of machine used. Top choice herbs for using a dehydrator are more fragile herbs such as basil, all mints, and oregano to name a few.
I own a stainless steel dehydrator, more of an industrial type. I have owned the round plastic ones for over 20 years. Yes, it did the trick, but I find using the metal one is much better for space and options.
The model I have has adjusting temperatures and racks that slide in and out. I opted to purchase the silicone sheets for drying jerky and such that fits this model. It also helps when the herb is very small when dried and would normally fall through the rack if it didn’t have the silicone sheets on the rack.
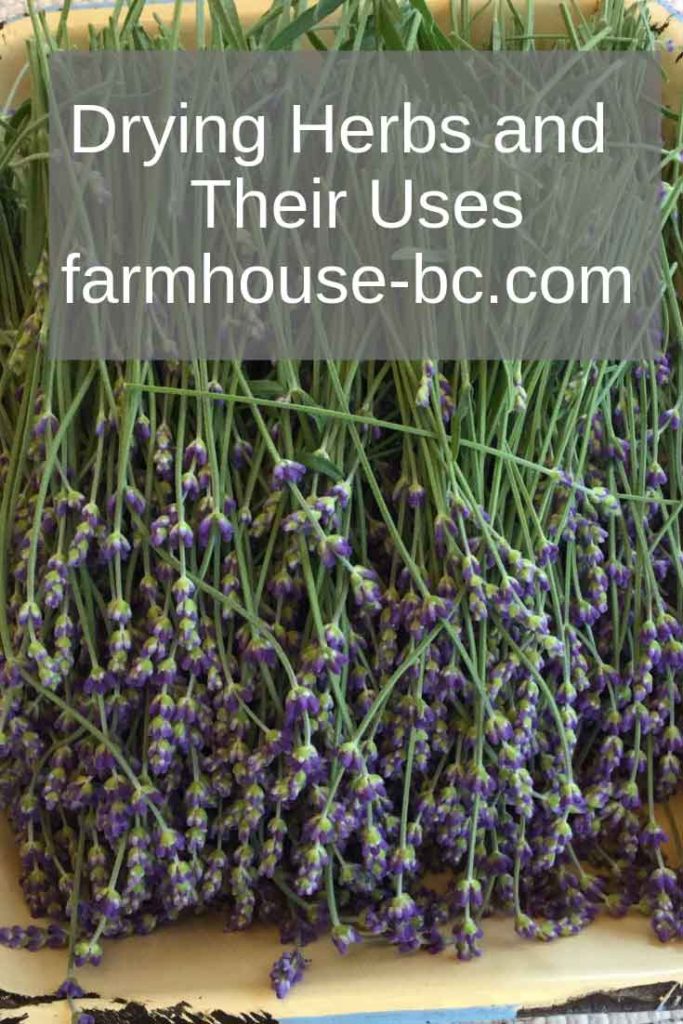
Suspending Herbs for Drying
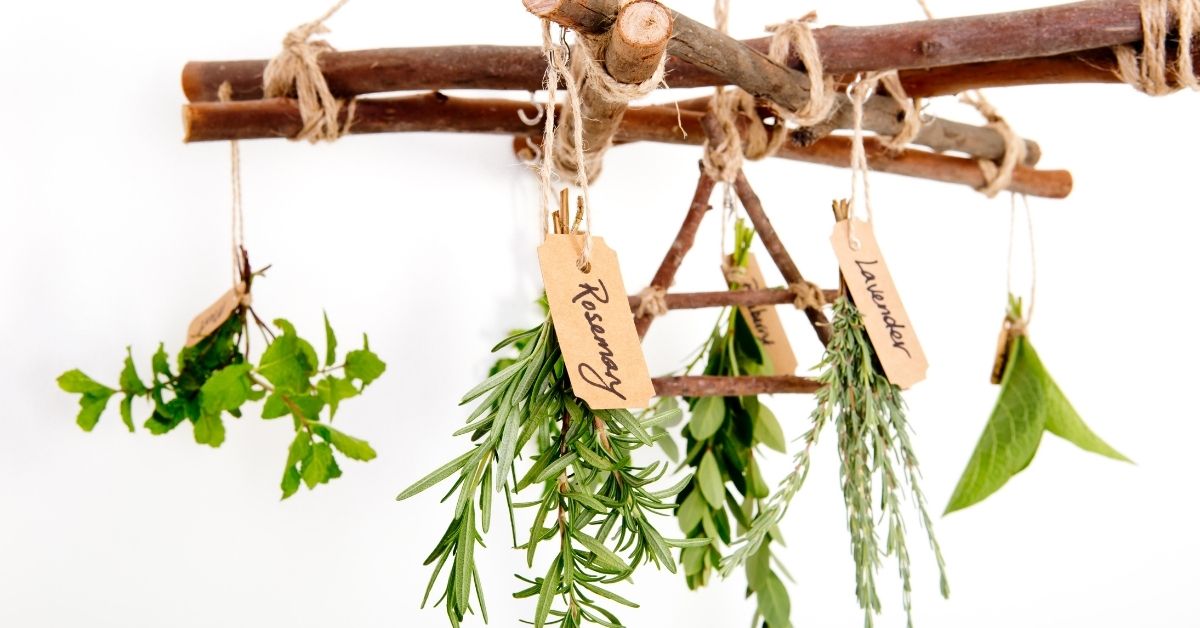
- This method is mostly used by individuals who do not have a dehydrator. It’s so simple and requires a rubber band or jute (my choice) for banding a small bouquet together and hanging upside down in a dry airy place out of the sun.
- Take care not to create bouquets that are too big because the air would be hard to circulate and dry the interior parts.
- The bouquets can be hung from a nail on a beam, or you can stretch a wire between two nails, which wire will be used to suspend a multitude of bouquets. Ensure to let air flow between them and make small bunches.
- Placing the herbs upside down in a white or unbleached lunch bag is also desirable for drying herbs with no mess and no cost. Ensure to label and date the bag beforehand.
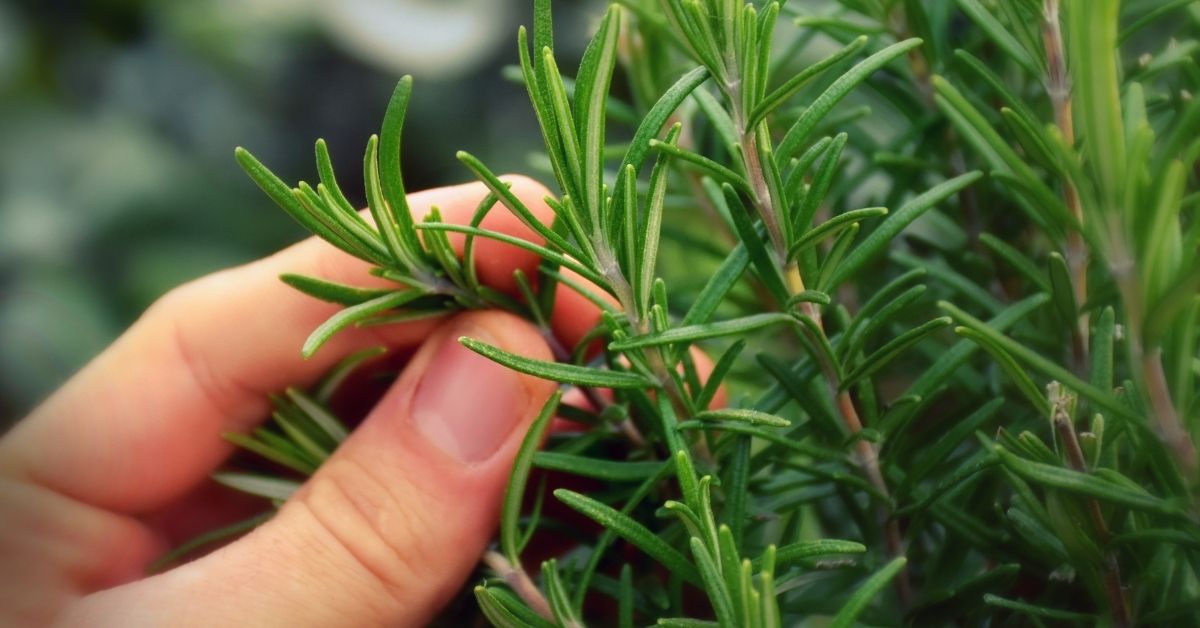
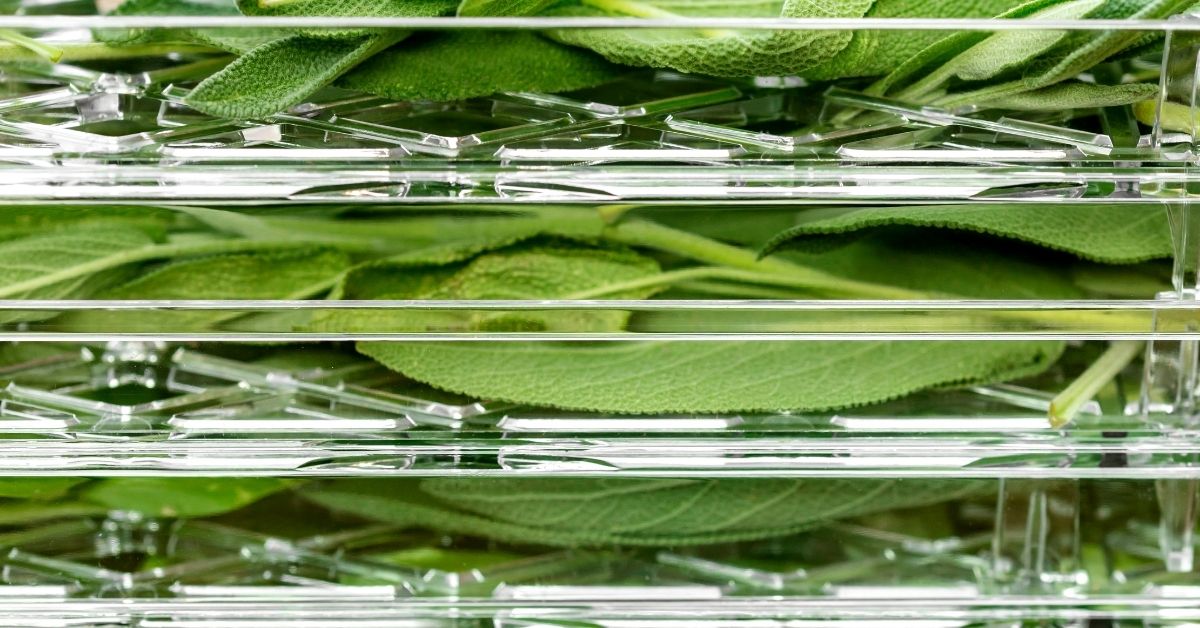
- The best herbs to use for the bouquet method are rosemary, thyme, parsley, dill, and sage.
Using a Microwave to Dry Herbs
Enclose a few herbs between unbleached paper towels and set the temperature on high for 30 seconds at a time. Flip over and check the dryness. I have only used this once and it worked in a pinch but not the recommended way of drying herbs.
Storing Dried Herbs
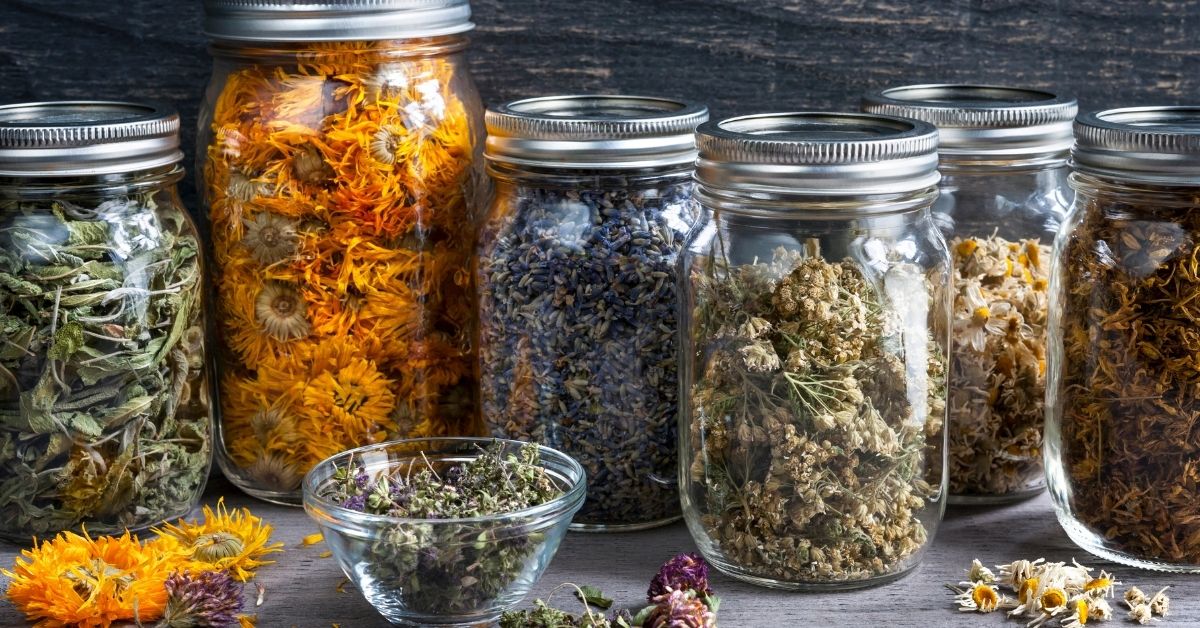
Now that you went through all the time to plant, grow, pick and dry your herbs, comes the most important thing, how to store your dried herbs. I store my dried herbs in a canning jar that I vacuum the air out with, which essentially seals it. When sealed properly, the metal ring will not pop up and down.
The jar is placed in a drawer or in a cabinet in my pantry. Either way, the jar is cool, dry, and most of all, in the dark. The light will absolutely destroy the potency and quality of the herbs.
Weight after Drying Herbs
The ratio between the weight of the dry plant and the weight of the fresh plant is about:
- Roots (24 ounces of fresh roots give 7 ounces of dry roots)
- Barks (17.6 ounces of fresh bark gives 7 ounces of dry bark)
- Leaves (31.7 ounces of fresh leaves give 7 ounces of dry leaves)
- Flowers (35 ounces of fresh flowers give 7 ounces of dry flowers)
These rates give an average that is not applicable for some particular cases. Herbs and such definitely will vary on wet versus dry.
How to Use Dried Herbs
Herbs that are dried properly will last anywhere from 1-4 years. Each year the potency will be less than the year before. Storing conditions are a factor also. Grinding herbs with a mortar and pestle right before cooking or baking ensures they are more pungent. Using dried herbs at the beginning of the cooking process will infuse the flavors more.
Approximately 1 teaspoon of a dried herb will take the place of a recipe calling for 1 tablespoon of fresh herb.
Best Herbs to Dry
- Bay Leaf: I buy a Bay Leaf tree from my local nursery and take a few leaves at a time to dry. I use bay leaves for cooking all kinds of pasta and love to add it to my rice before I pressure cook it.
- Basil: I make a lot of pasta dishes, including pizzas that I infuse the marinara sauce with fresh ground basil.
- Oregano: Same for pasta
- Dill: For making potato salad and canning pickles
- Sage: For all my chicken dishes
- Rosemary: For chicken dishes
- Lemongrass: For soap making
- Local wild jewelweed for making soap
Flowers and Herbs to Dry for Crafts and Tea
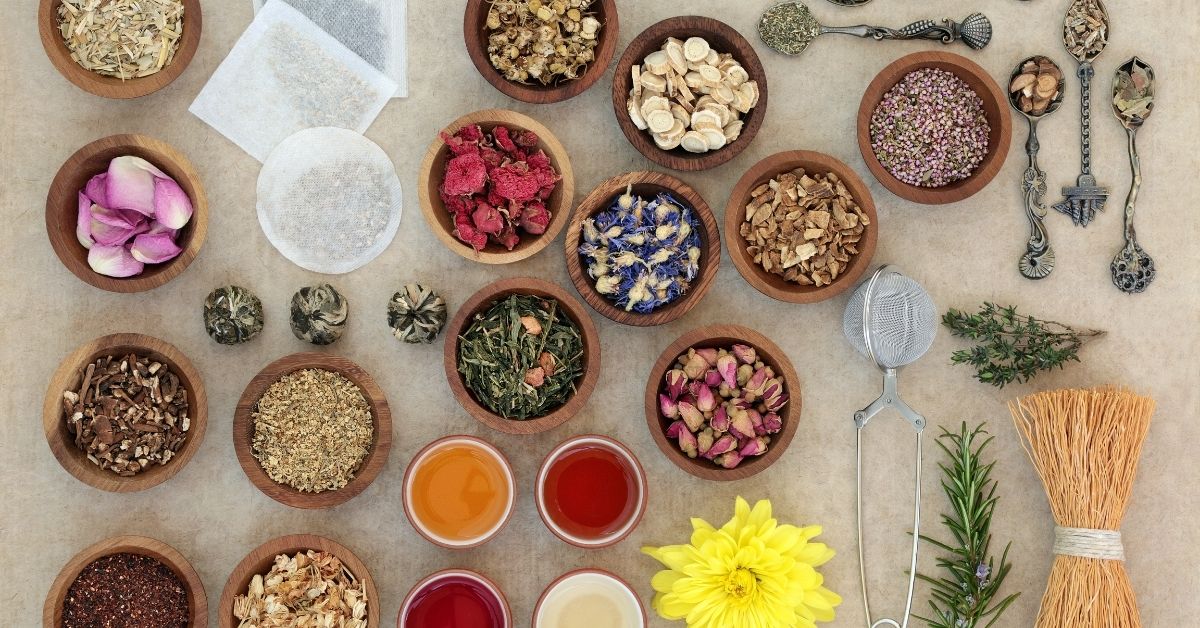
- Lavender
- Chamomile
- Lemon Balm
- Varieties of Mints
In Conclusion
Drying herbs can so much fun, even if you don’t grow them yourself. Making dried herbs doesn’t have to be expensive or labor-intensive. Start by buying organic fresh herbs and drying by hanging upside down as suggested above.
If you are considering growing your own herbs by seed, check out Annies Heirloom NON-GMO seeds Annie’s heirloom seed.
Read Fish Emulsion Fertilizer, how to make and use! how I fertilize my herbs with natural fish emulsion you can buy or make yourself!
There you have it, a condensed version of how to dry herbs. I hope you find it useful. Please leave a comment below on how you dry and use your herbs. We’d love to hear your thoughts.
More Gardening Blogs
Container Gardening that is great if you don’t have the space, renting, or have back isssues.
Many Uses for Eggshells is chocked-full of information if you are growing anything in the garden.
Manure Tea Bag Fertilizer Recipe for Gardens, Seedlings, Roses, and More!
Shop Here:
We are a participant with the Amazon Services LLC Associates Program, an affiliate advertising program designed to provide a means for us to earn fees by linking to Amazon.com and affiliated sites.
You will not incur extra fees or charges for using the links. We only recommend items we believe in and have tried. If I personally make or sell an item, I will mention this in the post for each item or items.
Stainless Steel Dehydrator can be found on Amazon
4 ounce Mini Mason Jars can be found on Amazon
Hand-Held Vacuum Sealer can be found on Amazon
Food Saver Vacuum Sealer can be found on Amazon
Flour Sack Towels can be found on Amazon
Please subscribe:
Thank you for stopping by and reading our blog. If you haven’t signed up for our newsletter, please take a moment and do so. We will not sell, share, or use your contact information. We are also ad-free and will not inundate you with unnecessary emails. Click the button below to join our community and receive our newsletter.
Please see the footer for FBC Disclaimer, Privacy Policy, Terms and Conditions.
PIN IT:
Pingback: Easy Container Gardening In 7 Types Of Planters ⋆ Farmhouse-bc
Pingback: 12 Garden Lessons from the First Growing Year - Vintage Kitchen Vixen
Pingback: Fish Emulsion Fertilizer, How To Make And Use! ⋆ Farmhouse-bc
Pingback: Attract More Butterflies In 10 Easy Tips! ⋆ Farmhouse-bc
Pingback: Knowing The Difference Between Vermiculite And Perlite?
Pingback: Elderberry Vs Pokeberry-the Shocking Difference Of The 2! ⋆ Farmhouse-bc
Pingback: Hanging Flower Basket ⋆ Farmhouse-bc
Pingback: Oyas And Ollas Made Easy For Your Garden ⋆ Farmhouse-bc
Pingback: Seed Organization In 6 Amazingly Simple Ways ⋆ Farmhouse-bc
Pingback: 5 Shocking Reasons To Buy Dollar Tree Seeds ⋆ Farmhouse-bc
Pingback: Growing Millet Easily For Birds ⋆ Farmhouse-bc
Pingback: Hügelkultur Raised Beds That Are Amazingly Easy To Build ⋆ Farmhouse-bc
Pingback: How To Prune Basil ⋆ Farmhouse-bc
Pingback: Affordable Chicken Thigh Recipes Made Easy ⋆ Farmhouse-bc
Pingback: How to make fermented red onions - Farmhouse Basic Collection.
Pingback: Easy fermented pickles, no canning! - Farmhouse Basic Collection.
Pingback: Gardening Tips for beginners - Farmhouse Basic Collection.
Pingback: The best 12 mosquito repellent plants - Farmhouse Basic Collection.
My mom loved her teas too! Thanks so much for stopping by 🙂
Thanks for stopping by 🙂
I know, I shared your great post on making plant cell blocks! Loved it!
Dehydrators open up a whole new world. LOL
Aha! That’s what I should have done last year. I didn’t know what to do when my herbs started flowering and went about it all wrong. Now I know it’s a sign to start harvesting! While I have a dehydrator, I find it so much easier to bunch everything up and hang it to dry. I know it takes longer, but I love the look of it, too!
My basil always does awful (I never have luck with it, which is a shame, because I adore basil), but I love drying oregano, parsley, savoury and thyme. I should try drying dill next year though. I usually chop and freeze mine.
I love growing cilantro. I will have have to dry some next time I grow it. Thanks for the informative post! Some times I suspend it in oil and freeze it too, so I can just pop it into what ever I’m cooking.
Thank you for all of the info!! I lm planting tons of herbs this year and can’t wait to hang them up along my pantry wall and use them all winter!
Oh, I need to save this for summer!
Loved your post, Jersey! I use a 9-tray dehydrator. I’m working on establishing an herb garden. I would love to have medicines and teas someday.
Lavender is forgiving, you can grow it for one season in a container if you want. Once you hold those buds in your hand and take in the scent, you’ll be making lavender permanent 🙂
I really want to do this. I do not have a green thumb but I would love to have a little herb garden and then hang them to dry! They just look so beautiful hanging! Thanks so much for all your information!
Pingback: How to make and use garam masala - Farmhouse Basic Collection.
Pingback: Dehydrate food naturally using a dehydrator - Farmhouse Basic Collection.
I really like your blog.. very nice colors & theme. Did you create this website yourself or did you hire someone to do it for you? Plz answer back as I’m looking to construct my own blog and would like to find out where u got this from. thanks
Pingback: Vertical Gardens for small spaces - Farmhouse Basic Collection.
As always, you are great support and makes it all worth it. Thank you, my friend! The podcast was very inspiring and encouraging. Thanks for being so open!
Pingback: How to smoke meat naturally - Farmhouse Basic Collection.
As always very informative! You are a wealth of information.