Amazingly easy buttermilk rolls made in the bread machine. Grind organic ground wheat berries you can mill yourself or use organic unbleached flour. I know that today is a cold and blustery day in the mountains of Tennessee and I am craving buttermilk rolls.
Today’s helping hand is the bread machine. I like using the bread machine on cold days since it kneads and does the first rise in the bread machine. This saves me an enormous amount of time. Since the fireplace was already going in the house, I decided to use my beehive oven to bake the rolls.
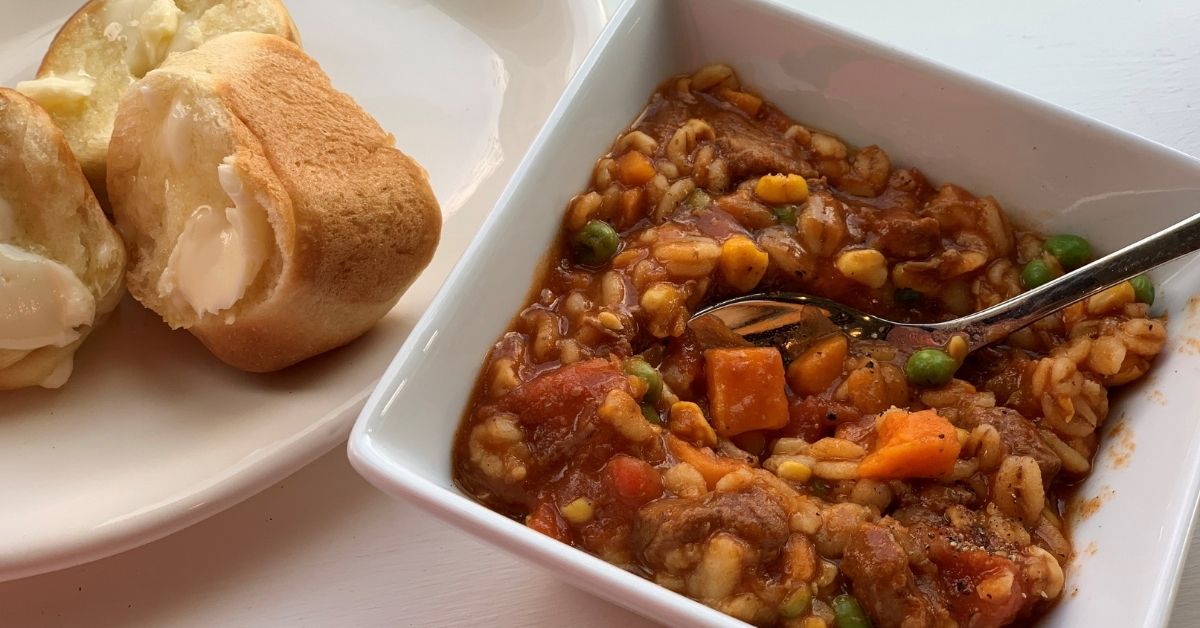
Table of Contents or Collapse to Hide
Where to Find Wheat Berries
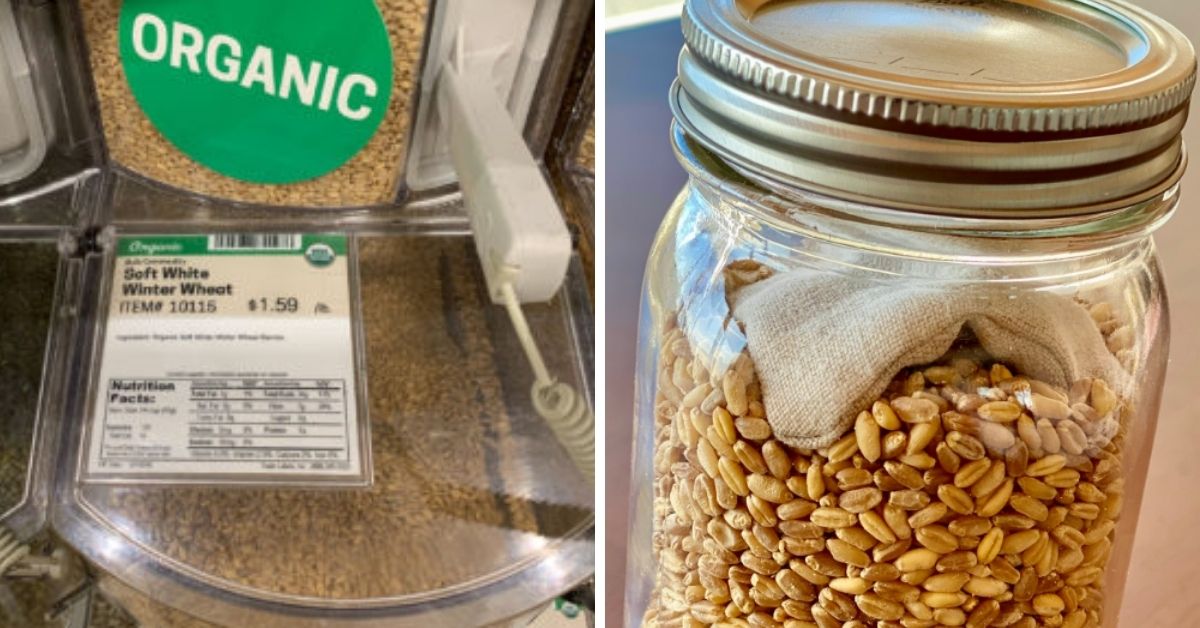
There are many places online and probably local to the area that you can choose to buy wheat berries. I obtain mine from my local fresh market. I choose to buy mine locally for three reasons.
The first reason is, I get to personally pick, choose, and weigh my own product. The second reason, I do not grind enough wheat throughout the year to buy in bulk. Lastly, no packaging, I bring linen bags to bring home the wheat berries.
Since I go to the local market once or twice a month it does not cost me any more to stop in and get some extra berries. When the children were smaller, I baked bread every single day, I bought my berries in bulk and froze most of it.
Milling or Grinding Wheat Berries Into Wheat Flour
Use an electric mill, or in my case, a Vitamix, which makes it so much easier to grind or mill the wheat berries into flour. I am using approximately 2/3 white winter wheat berries and a third of red winter wheat berries. It only takes less than 15 seconds to grind all the wheat that I need to make this dough.
Even though it only takes a few seconds to grind the wheat into flour, the machine gets very hot. It takes a heavy motor to grind the flour without overheating.
Grinding Wheat Berries
Grind the wheat berries until you have the flour consistency you prefer. Every machine is different, read your manual. I like to let part of the berries remain a little unground, it gives the rolls a texture and more artisan-like.
Measure out all your other ingredients and set them aside. I am not sure if a regular blender can handle the speed and time it takes to grind the berries. I know that my Vitamix is powerful, but it heats up to around 130 degrees after grinding.
Using a Bread Machine to Make The Dough
I am pretty sure that some people do not equate to homemade bread using an electric contraption. I have fibromyalgia and sometimes it’s difficult to use my hands in a repetitive motion. Since today is a cold-damp and blustery day, the pain is more relevant than usual.
To me, the bread will still taste the same whether I used an electric device or if I spent 20 minutes kneading it by hand. At least now, I will not have the ache in my wrist as if I would have kneaded it for 20 minutes.
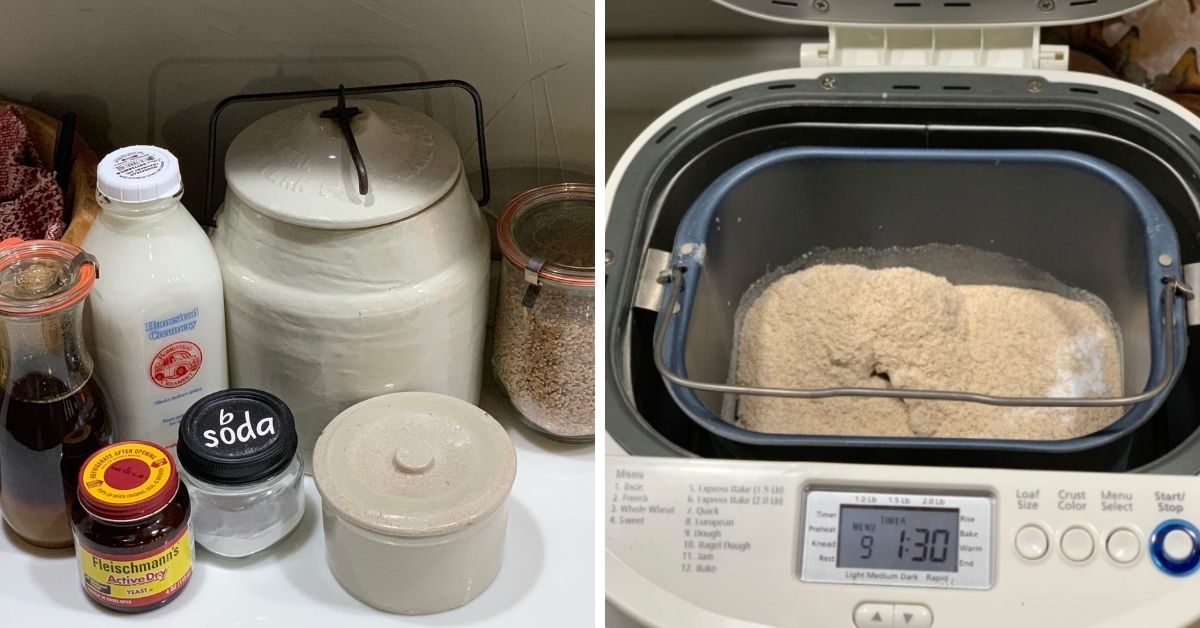
The weight ratio will be approximate. You may use all of one flour or a mixture of different flours. For this particular recipe, I used white winter wheat berries I had in the jar, and then the remaining I used red winter wheat berries.
I will provide my exact measurements if you want to follow along and use them. Weighing the wheat berries before milling is the same weight after you grind or mill; it will not change the weight.
If you enjoy using your bread machine to make moist bread, check out my other blog Bread Machine Sourdough Tortillas and try that recipe out!
Ingredients for Buttermilk Rolls
- Measure the buttermilk first and set the pitcher into a bowl of hot water to warm the buttermilk
- 2-1/2 cups flour or wheat berries or 349 grams (more may be needed for kneading the dough)
- Buttermilk ¾ cup +2 tablespoons or 214 g (or homemade Buttermilk DIY)
- Butter 2 tablespoons-homemade fresh butter from raw milk is best or Kerrygold is my second choice or -room temperature (or Homemade raw milk butter)
- Honey 2 tablespoons Organic and local
- Salt 1 teaspoon
- Baking soda 1/4 teaspoon
- 1 teaspoon yeast (I use any yeast, bread, rapid rise, or active dry, they all seem to work)
- Optional 1-2 tablespoons of moonshine horseradish mustard-wet or dehydrated (make the Best creamy moonshine horseradish mustard recipe with me!)
Print the Bread Machine Rolls Recipe
Instructions for Making Easy Buttermilk Rolls in a Bread Machine
Always place your wet ingredients at the bottom of your bread machine pan. Next, add all your dry ingredients starting with your flour, salt, baking soda, and finally the bread yeast.
I chose to use the dough option on my bread machine. I have never had much luck with allowing the machine to complete the process and actually bake the bread in the machine. Besides, sometimes I make a loaf and sometimes I make rolls.
My bread machine’s dough option takes one hour and 30 minutes to knead the dough including the first rise. Once the time is up, the bread machine automatically turns off. This is when you will have to decide if you’re going to bake a loaf of bread or section it off into rolls. Today, I have decided to make dinner rolls to go with beef barley soup.
Buttermilk Bread Dough
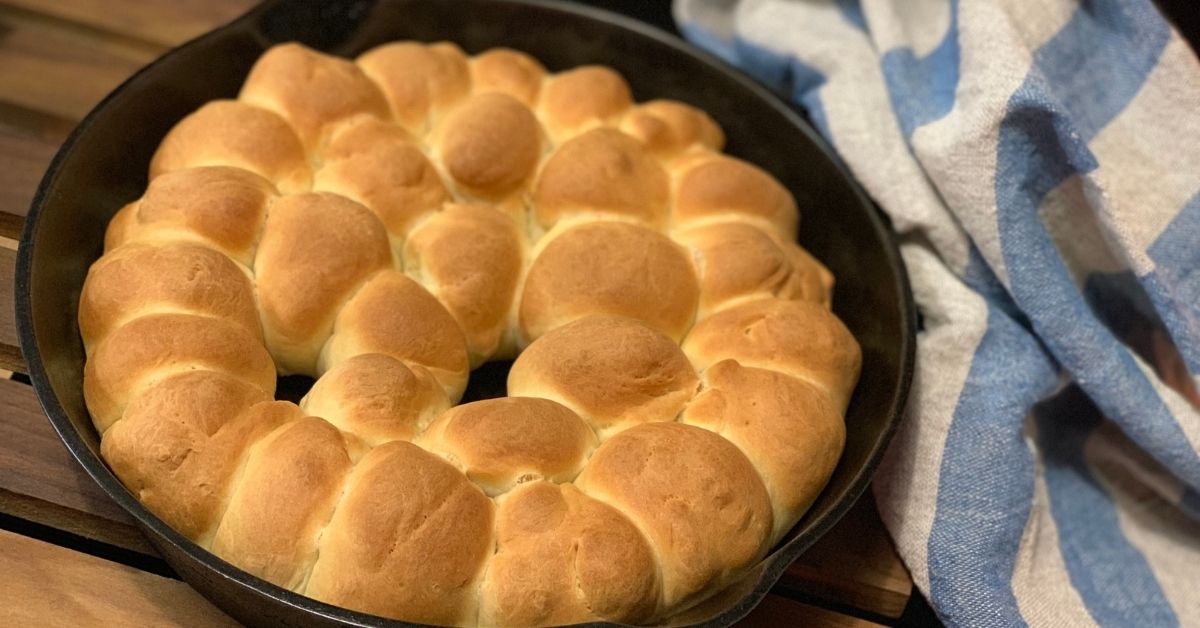
Once the timer is up on the bread machine, remove the dough from the machine. If making rolls, roll into balls, size is your preference. While the beehive oven is warming up I have my rolls in a buttered cast-iron pan covered with a linen towel. Once doubled, it’s time to bake them.
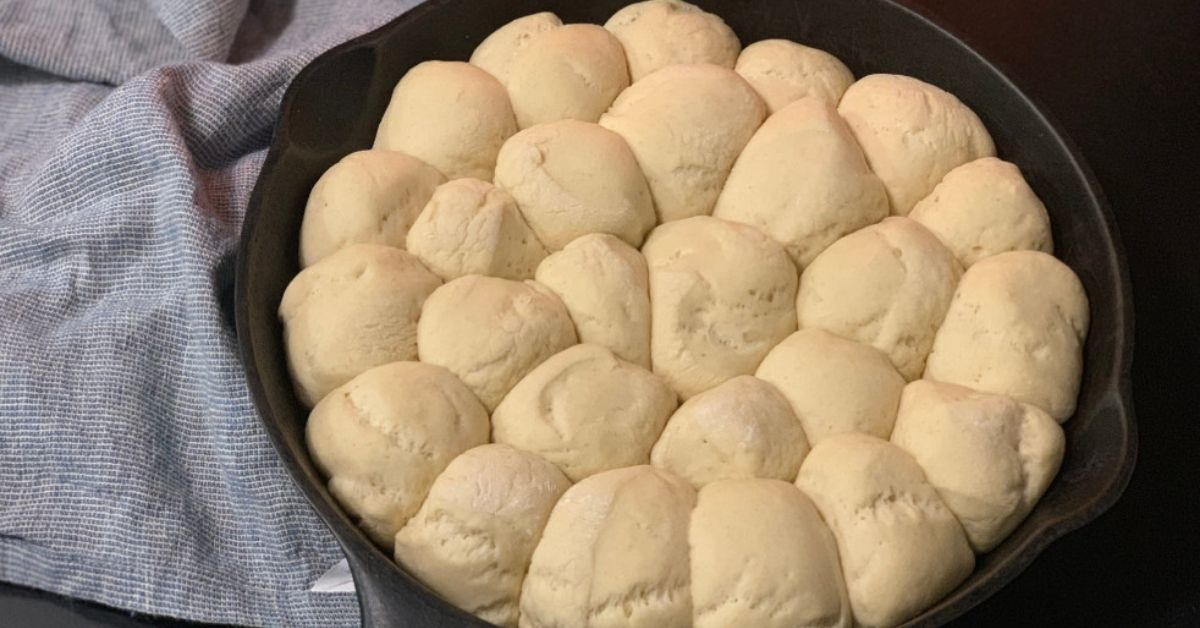
For today’s rolls, I prepared the fire in the fireplace, took the hot coals, and placed them in my beehive oven to warm up the bricks. I will not be going into the details in this blog, but I will save that for another post on how to prepare your beehive oven for baking bread.
Baking Instructions for Buttermilk Rolls
Today I will be baking the rolls in my beehive fireplace oven that my husband and I made several years back in our primitive room. I will eventually do a post on cooking in a fireplace and beehive oven.
If you do not have a beehive oven this is when you would preheat your oven to 350 to 375°. When I am not using my beehive oven, I bake rolls and bread at 350° in a convection oven. If you are making rolls, bake them for 20 minutes and then check them every five minutes until they are nice and brown.
Usually, the internal temperature of the bread is around 190°. Very rarely have I ever used a thermometer to check my bread for doneness., but I know some bakers swear by it. I can usually gauge it by feel, smell, and look.
Once you really start to smell bread wafting through the house, that’s an indication that the bread is usually done baking. If you are making one loaf of bread with this recipe, I suggest 30 minutes before checking for doneness.
Related Recipes That Go with Buttermilk Bread Rolls
Two of my favorite recipes to eat buttermilk bread rolls with would be my famous Smoked Steak and Chicken Salad, or my Homemade mushroom soup. To top it off, I like to have my One-bowl Brownies for dessert, which makes for an amazing meal!
Looking for an additional easy homemade meal? Check out my How to Make Egg Noodles For Beginners blog. It’s so simple, that anyone could do it!
DIY Cooling Rack to Make
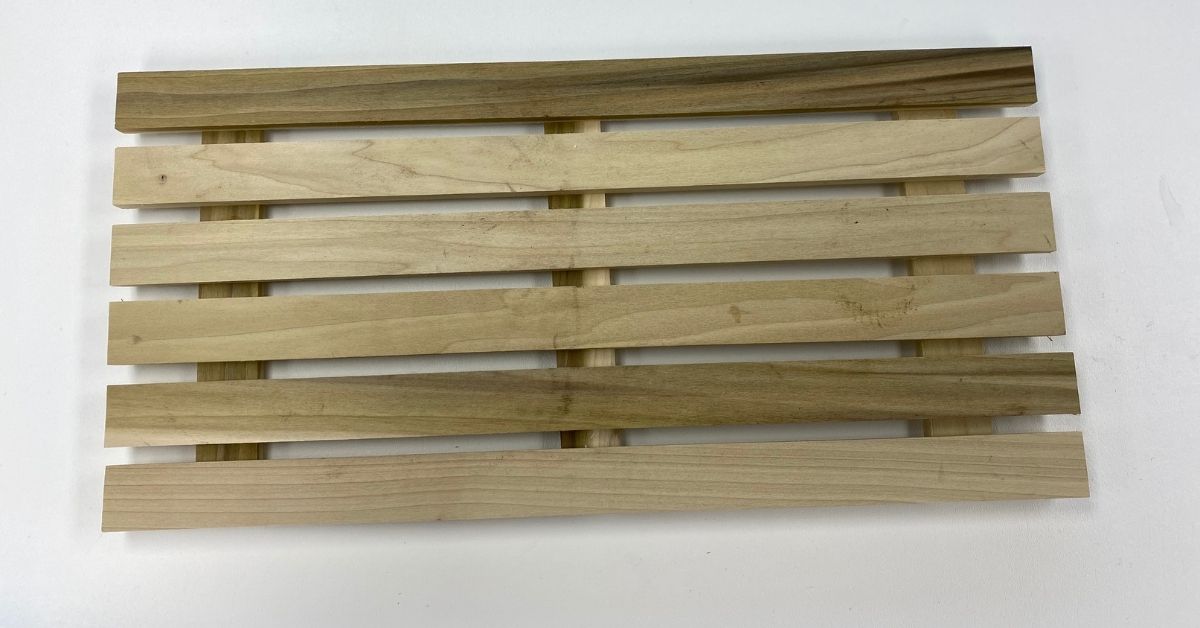
Would you like to build this cooling rack? My DIY Heavy-duty Canning and Cooling Rack will walk you step by step on how to make this for your own personal uses!
In Conclusion on Making Buttermilk Rolls
Easy buttermilk wheat bread machine rolls are so easy, I use this recipe and bread machine a lot in our home. You don’t have to grind the wheat berries but using organic unbleached flour is just as good.
Interested in some facts about wheat and worried if it’s good for you? Check out MedicineNet’s article on “Is Eating Wheat Bad for You“. They provide really good information about the benefits of eating wheat alongside some facts about gluten!

Pingback: Jam Recipe In The Bread Machine ⋆ Farmhouse-bc
Pingback: Easy Sloppy Joe Recipe Made With Manwich ⋆ Farmhouse-bc
Pingback: Easy Bison Chili Cooked On A Woodstove ⋆ Farmhouse-bc
Pingback: Instant Pot chicken and dumplings recipe ⋆ Farmhouse-bc
Pingback: Sourdough Apple Danish Aebleskiver - Farmhouse-bc
Pingback: Electric candle warmer uses - Farmhouse-bc
Pingback: Easy potato soup in the Instant Pot - Farmhouse-bc
Pingback: Homemade mushroom soup - Farmhouse-bc
Pingback: Best creamy moonshine horseradish mustard recipe - Farmhouse-bc
Pingback: Easy beef stroganoff with cream of mushroom soup - Farmhouse Basic Collection.
Pingback: Homemade flaky biscuits from scratch for two - Farmhouse Basic Collection.
Pingback: How to make non-soggy French toast - Farmhouse Basic Collection.
Pingback: Easy jams with and without pectin - Farmhouse Basic Collection.
Pingback: Buttermilk DIY - Farmhouse Basic Collection.
Pingback: Homemade raw milk butter - Farmhouse Basic Collection.
Pingback: Easy Sweet and Sour Sauce Recipe - Farmhouse Basic Collection.
Thank you, Anja, now the cooler weather is upon us, I will be making these more!:)
This looks like such a perfect recipe: the ingredients, the method, and the rolls 😊
Unfortunately, I have abused my wrists from typing a lot in business for the last 30 years. I would love to be old school again, but I cannot. So either I admit I can’t do everything myself or I go without. I love bread, so bread machine it is 🙂 lol You’re so kind to comment, thank you:)
These look so good, Jersey! I love that you mill your own flour. That’s something I really need to get in to, but one thing at a time! I would probably mix these by hand because the only bread maker I have is myself. Still, with a little one running around, I’m starting to see why so many folks swear by them!
I haven’t had a bread machine in years but I did live it and it helped me learn! I love how you used cast iron to bake your rolls. I’ve always used glass but now want to try a good old skillet 😃. Thanks for sharing!
These look so delicious! I never ground my own wheat before. I’m going to have to try it. I love making fresh food. Thank you for a great detailed post.
Pingback: Growing Wheat on the Homestead - Farmhouse Basic Collection.
Pingback: Bread Machine Sourdough Tortillas - Farmhouse Basic Collection.
I’ve been absent for some time, but now I remember why I used to love this site. Thanks , I¦ll try and check back more often. How frequently you update your website?
Enjoyed reading through this, very good stuff, thanks.
Pingback: Corn Chow Chow Relish - Farmhouse Basic Collection.