11 great plants to regrow from cuttings is not difficult at all! Food waste becomes a serious problem that contributes to global warming. Based on a study, a single-family household discards food waste for an average of 300-600 pounds a year. This is a serious issue for the future of the earth.
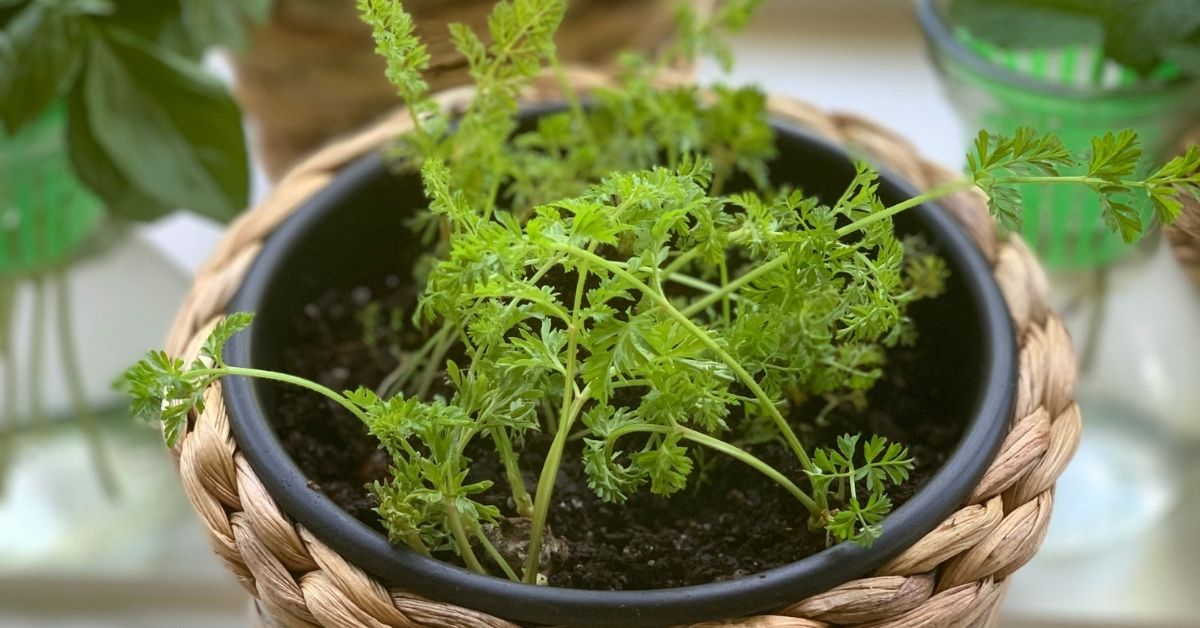
To reduce the amount of food waste, many people have decided to regrow vegetables and plants from the cuttings, myself included. There are at least 11 plants to regrow from cuttings listed in this post, but there are more once you learn how to do it.
Table of Contents or Collapse to Hide
Regrow Plants from Cuttings to Save Money
The idea of regrowing vegetables and plants from its cutting does not have to complicated or labor-intensive. Regrowing vegetables and plants help reduce the amount of grocery shopping every week. Even though you may have a limited yard or even live in an apartment, you can still regrow many vegetables from cuttings.
Steps to Regrow Basil, Mint, and Cilantro from Cuttings
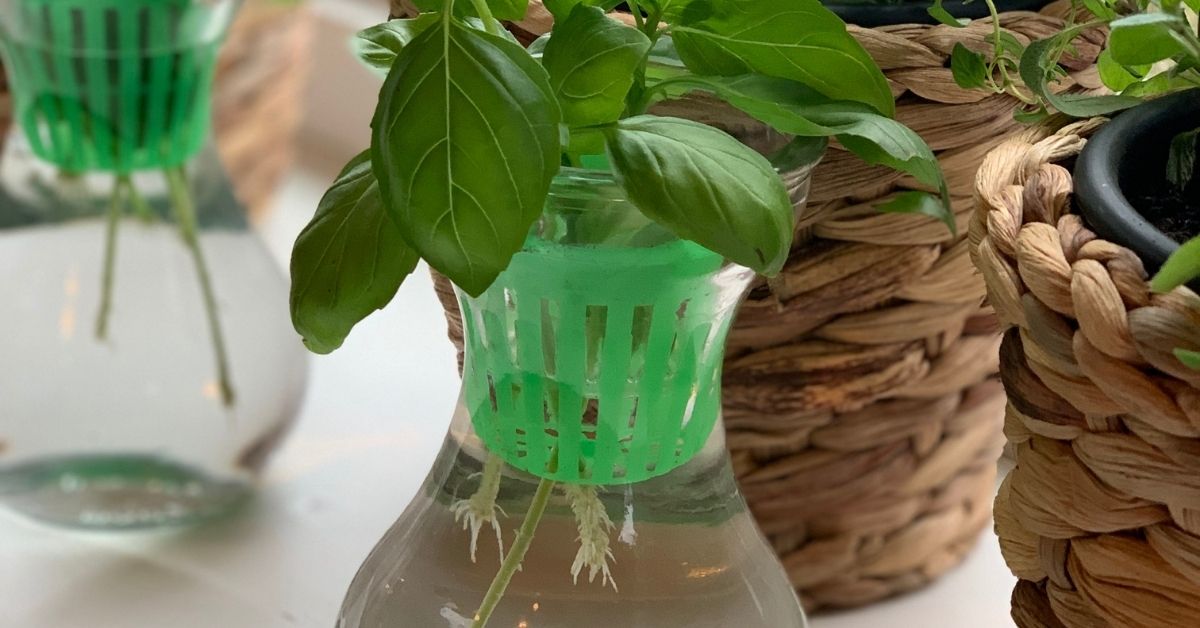
Basil, mint, and cilantro are typically easy herbs to grow. Once they grow, they will supply you with endless leaves for a long time. Steps to regrow basil, mint, and cilantro will be listed below.
- To grow basil, mint, and cilantro, you will need to strip the leaves from stems for around 75 percent using a sharp knife or carefully pinch off (be sure not to strip any of the stem off, this will damage the stem)
- Place the stem in a clear glass jar and fill it with filtered water
- Put the jar with the stems in a sunny place but make sure it’s not too hot
- Change the water every other day or when it starts to get cloudy
- To prevent getting cloudy water, you may use a few pieces of charcoal in the bottom of the glass jar
- Once the roots have grown around 2 inches from the stems, you can transplant them into a pot with good soil or out in the garden if the weather is warm enough
It is very important to use filtered water at all times. Chlorine and other contaminants can hinder root growth. Ensure to buy produce or plants that are organic and not treated.
How to Regrow Green Onion, Leeks, Garlic, and Scallions
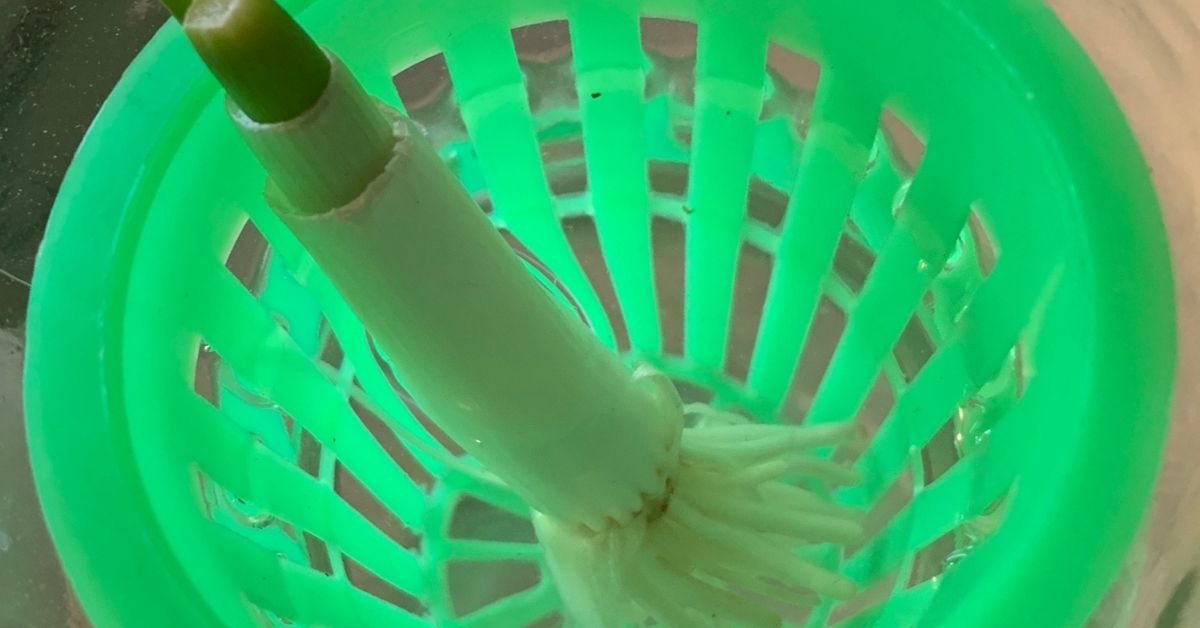
Green onion, leeks, garlic, and scallions are delicious for any kind of dish. But instead of using the whole vegetable, you can leave the lower white part to regrow again!
- Save approximately one inch of the vegetable
- Place the veggies cutting in a glass jar filled with filtered water. A small dish may be used also
- Put the jar on a windowsill and do not forget to change the water when cloudy
- In a week or more, the cutting of the veggies will start to grow a root
- At this stage, you can transplant the veggies to dirt or leave them in the jar
- When leaving the cuttings in the jar, make sure that the root is covered in water at all times and the water is kept clean with filtered water
Regrowing Bok Choy and Lettuce
Bok Choy and lettuce have a similar method to regrow as the onion family above.
- Cut a few inches of the vegetables from the lower part of the vegetable
- Place the base in a bowl filled with filtered water
- Make sure that the water does not drown the cutting of the veggies
- In a few days, the vegetables will start to regrow and you will see small leaves coming up
- In 1-2 weeks, transfer the vegetables into the soil and they will fully grow ahead
Regrow Lemongrass Plants from Stalks
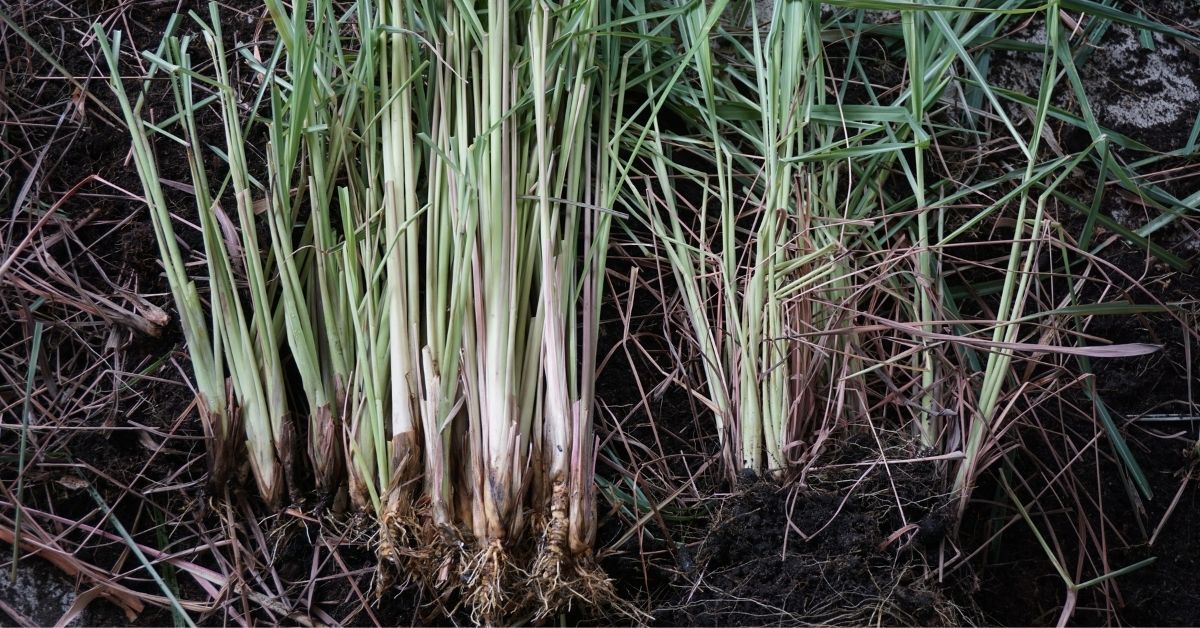
Lemongrass is a great herb for curry pastes, marinades, and even herbal tea. Regrowing lemongrass from the stalk is a great way because the herb is the kind that’s easy to grow.
- You will just need a few stalks of lemongrass with the bulb bottom
- Place the white part of lemongrass in a jar and fill it with filtered water
- Change the water every few days or when cloudy
- In a couple of weeks, roots will grow from the bottom of the stalk
- You can transplant it to the soil when the roots are strong enough
- Place the pot in a sunny area; lemongrass needs a good amount of sun
- During the winter (before the first frost), move the plant inside to prevent it from dying
- Within 6 months or less, the plant can be harvested
- We always infuse our coconut oil in lemongrass (in a candle warmer) when we made our body soaps
Regrow Ginger Plants from Rhizomes’
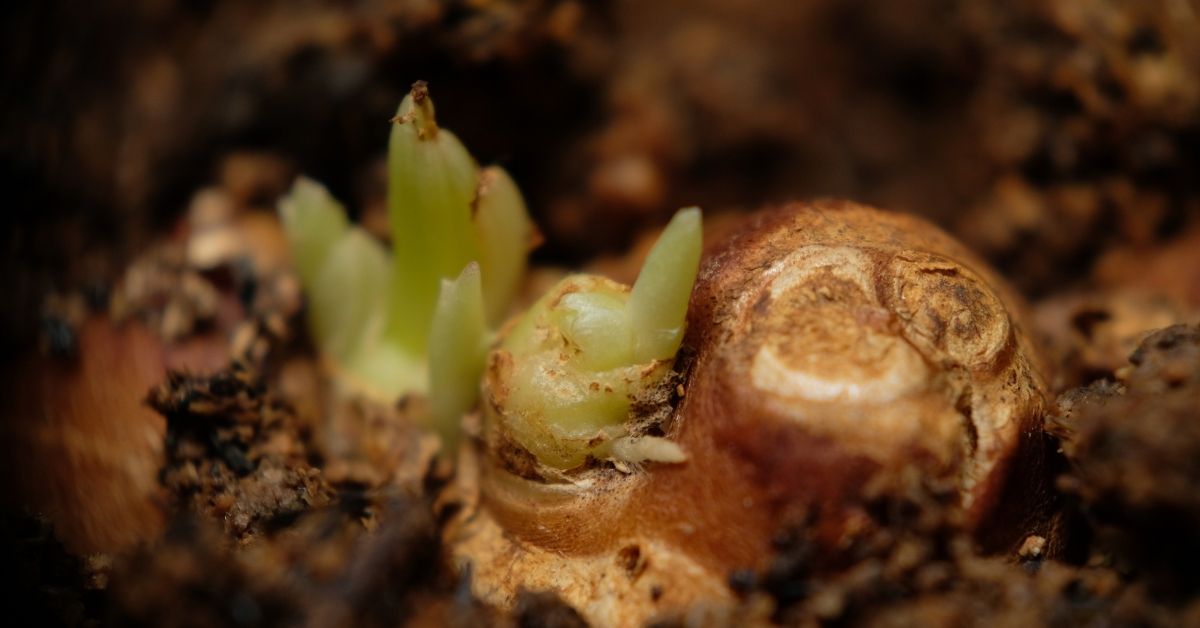
Fresh ginger is great for cooking and also beverages, but the fresh ones can be quite pricey. Ginger is fairly easy to grow. When buying the ginger or rhizome, ensure it’s organic and not treated with a growth inhibitor. If you see little green buds starting to appear, then you will have a great headstart on your new plants!
- Soak a ginger chunk in room-temperature filtered water overnight, this will help to wake up the rhizome
- This next step is optional, but it’s what I choose to do to get more bang for the buck
- Cut the ginger into 2-inch pieces, ensure each piece has an “eye”. Since the plant is fresh cut, it will need to dry for a few days like the potatoes
- After that, transplant the ginger root into the soil with the smallest bud facing upwards
- Place the pot or planter into a partially shaded area or an afternoon sunny area, so it will easily grow roots and shoots. Ginger is slow in growing but worth it. It can take up to 10 months to be fully grown. Be sure to water ginger while it’s growing, don’t overwater, and don’t ever let it dry out either.
- I plant my ginger outside in the early spring, covering the rhizome with rich compost, vermiculite, and mushroom compost mixed well together
- Ginger needs soil that drains well and mildly acidic soil with a PH around 6 to 6.5; once sprouted, mulch with untreated pine shavings
We fertilize all our plants with either manure tea, worm casting tea, or fish emulsion. We never use commercialized fertilizers that will harm the environment, our produce, or the bees. Read about Fish Emulsion Fertilizer, how to make and use!
Steps to Regrow Root Vegetables
Root vegetables such as carrots, turnips, parsnips, and beets are very easy to regrow. But one will not regrow what you thought it might grow.
- You will need a few inches from the top part of the root vegetables
- Place the cutting into a jar of water and put it on the windowsill
- In a few weeks, green tops will appear and it is time to transplant them into the soil
- Placing in a shallow dish is also good so since you won’t be drowning them and it’s only a little water that needs to be changed each day I place mine on the kitchen windowsill to remind me daily to change their water.
- SPOILER ALERT: Carrots will not actually regrow a carrot again. The fern-like tops are decorative, can be eaten (although bitter), or sprouted for seeds to grow in the garden for carrots. They look like a fern and look beautiful in a basket or on a table.
- The carrot tops (greens) are actually packed with nutrients and loaded with protein! They make a pretty garnish if I say so myself! Try using the tops to make pesto with basil, yum!
Regrow Peppers from Seeds
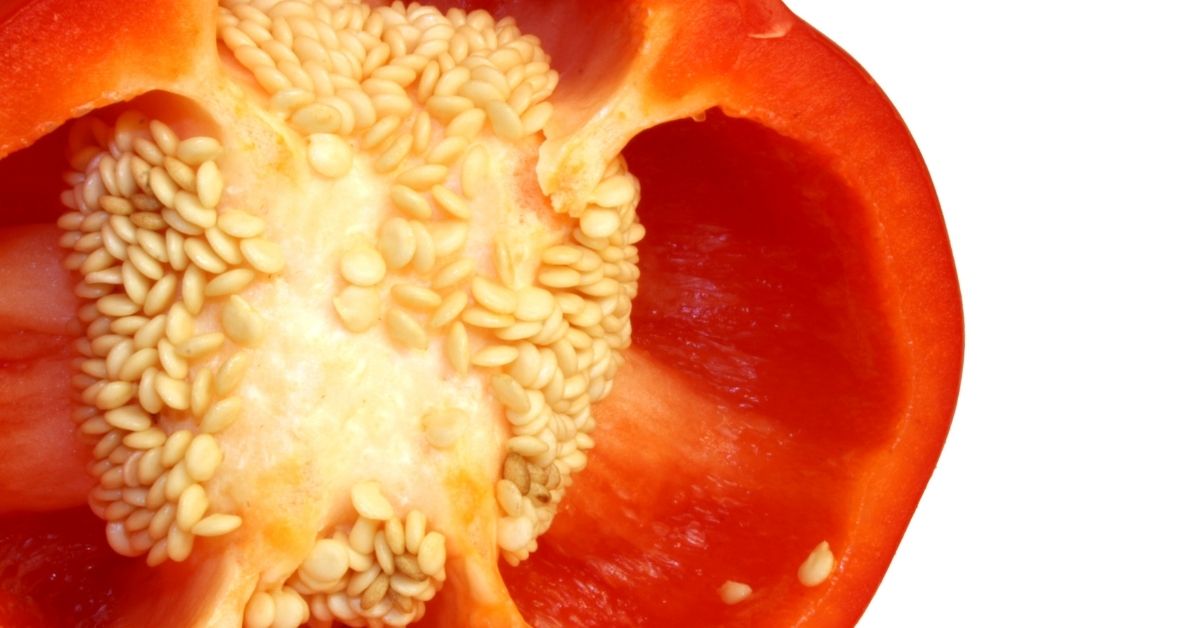
Fresh peppers are always great for any kind of dish especially if you love spicy food. You can also grow your own pepper plants right from the seeds. Take out some seeds from peppers of any kind such as bell pepper, Dragon’s Breath, The Carolina Reaper, jalapeno, and many more.
Make sure that the seed comes from a well-ripe pepper and NON-GMO is the best. A warning from experience, use food-grade gloves when de-seeding the hot peppers like the ones mentioned above (not including the bell).
- Wash the seeds and let dry
- Once dry, plant into the soil and it will grow quickly
- Place the pepper pot in a sunny area and water it regularly
- You can store the leftover dried seed for future pepper planting
How to Save Tomato Seeds to Regrow Plants
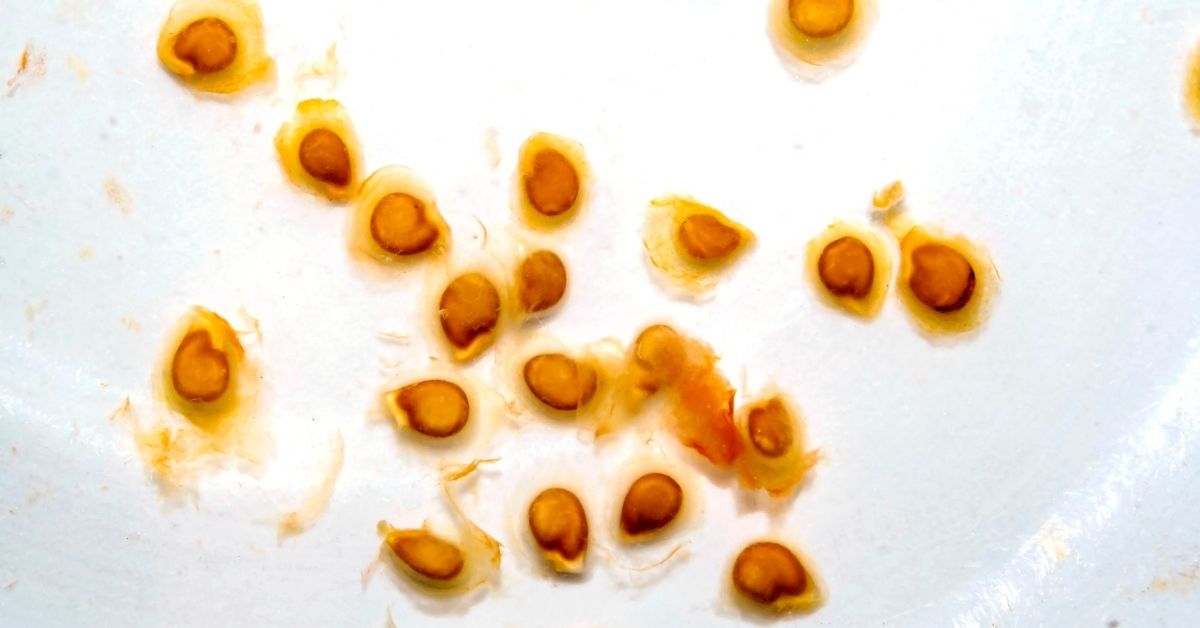
Growing tomatoes is quite similar to planting peppers. Always start with organic fruit, non-GMO is best to ensure the next produce will be healthy to eat.
- You will need well-ripe tomatoes, cut them in half and take out the seeds
- Rinse the seed with running water then with filtered water and let dry
- Once it dries, you can start planting the seed in rich potting soil and place it indoor
- Once the tomato sprout is few inches tall, put the pot outdoors in a sunny area and water regularly
Regrowing Celery in Water
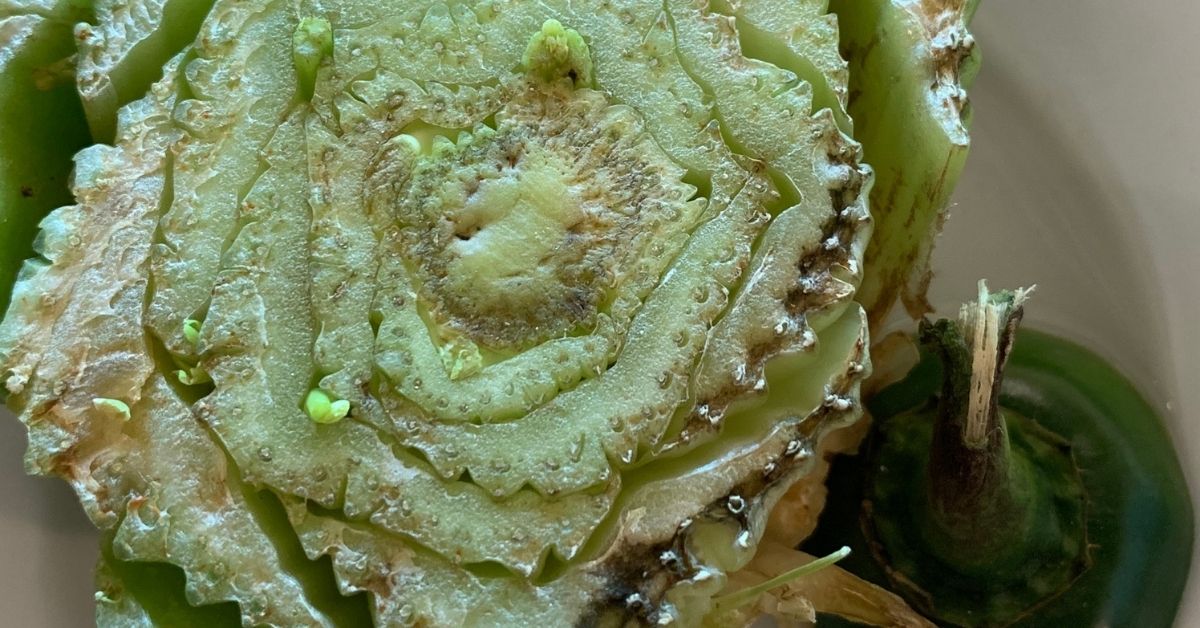
Growing celery is similar to growing bok choy and lettuce cuttings. Have firm and fresh celery will have a good start on regrowth.
- You will need a few inches of celery bottom and put it in a glass or jar filled with filtered room temperature water
- Place the glass in a sunny area and you will see new leaves sprouting within 5-7 days
- If the sprout is strong enough, transplant the celery into the soil
Regrowing Potatoes from Sections
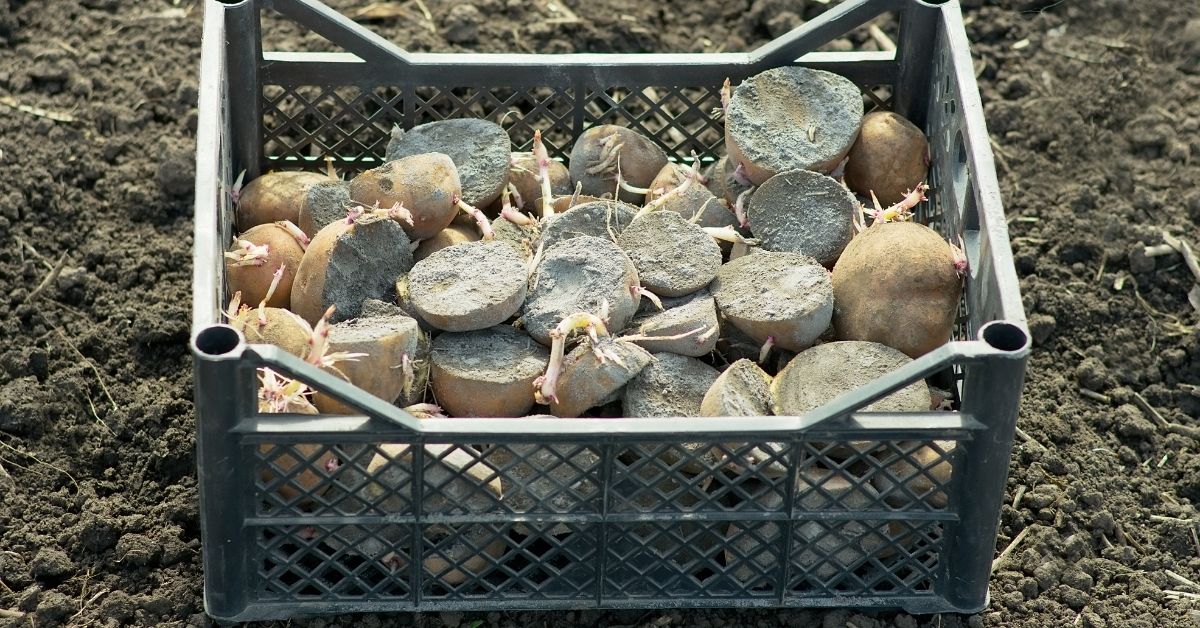
Potatoes are a staple vegetable for any kind of dish. Make sure the potatoes are organic and don’t have a growth inhibitor on them.
- Cut into sections, ensure to leave 1-2 eyes in each piece
- Wash thoroughly, pat dry, let dry overnight or up to 48 hours or until the wound is completely dried
- Plant directly into rich soil
Growing Sweet Potatoes from Slips
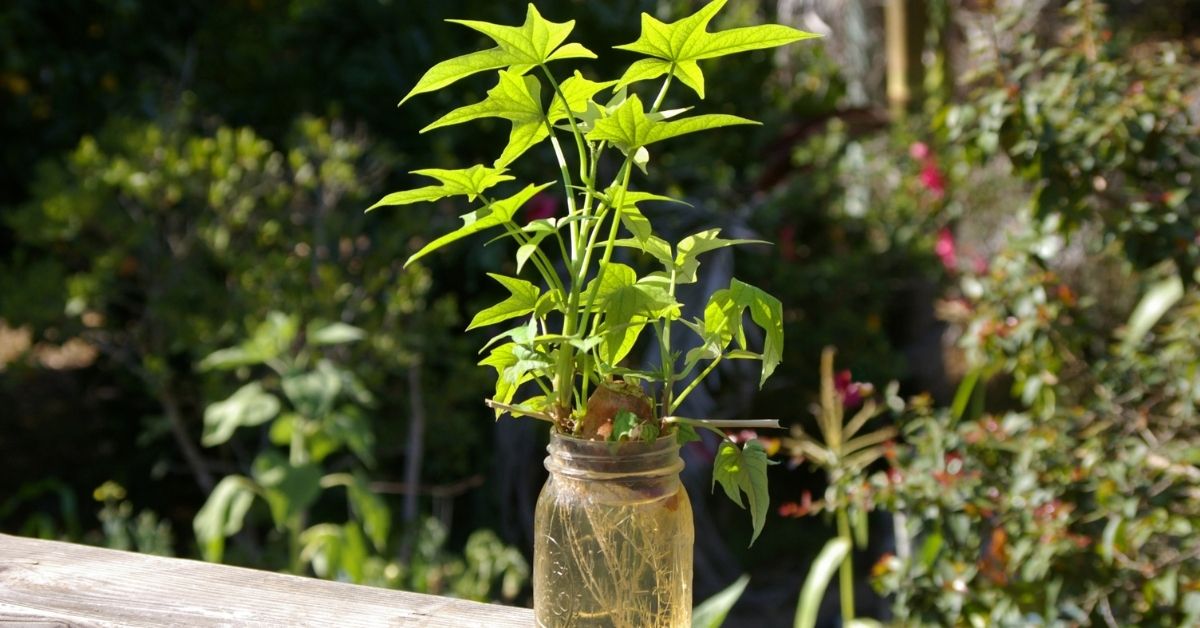
Yams or sweet potatoes will not produce a sweet potato-like a tuber potato. Did you know that sweet potatoes are actually root plants? They will produce root vines from the eyes that once placed in water that will root into slips. Sweet potatoes need to be planted from slips. These slips can be rooted with slips like the herbs, in a jar.
The sweet potato needs to be organic if not, it will likely have an inhibitor on it that will prevent it from sprouting. It’s best to start with a small sweet potato, they seem to produce the best slips and you aren’t wasting a big potato for slips.
Slips can take up to 2 full months to be produced; plan ahead! Preferably, start the slips 6 weeks before the last spring frost for your area. Plant when the soil is at least 65 degrees. I have listed my 2 favorite options for starting sweet potato slips to grow in the garden.
Growing Sweet Potato Slips in Water
- To grow sweet potato slips, you will need to ensure it’s cleaned, healthy, not shriveled nor any mold on it
- One way, cut the sweet potato into pieces or half and place each piece in partially filtered water
- Or, place the whole sweet potato in a clear glass jar and fill it with filtered water (if you do not have a bulb jar, suspend 75% of the plant out of the water (the bottom or the fatter end goes in the water)
- Another option, lay the sweet potato horizontally on a small platter and fill 1 inch up with filtered water
- Put the jar or platter in a sunny place but make sure it is not too hot
- Change the water every other day or when it starts looking murky
- When the vines are 6-10 inches long with at least 4 leaves, carefully twist and pull off the plant and place that vine in filtered water, again a bulb jar works great
- Once the slips have adequate roots, plant them in the garden, this will take an average of 2 weeks
Starting Sweet Potato Slips in Soil
Alternative and in my opinion faster way to get sweet potato slips. I use a plant heating mat and grow lights in the late spring to grow the slips
- Use a whole organic sweet potato, again, a smaller one is great
- Potting soil is placed in a pan with drainage holes, ensure to have a bottom layer pan to catch the water
- Lay the sweet potato sideways in the pan
- Cover halfway up the sweet potato with the soil, I like to add about a third of sand or perlite in the soil mixture
- Ensure the heating mat is always on
- Optional, place a clear plastic dome over the plant if really cold on the porch
- Keep the soil very moist, do not let it dry out at anytime
- When the vines are 6-10 inches long with at least 4 leaves, carefully twist and pull off the plant and place that vine in filtered water, again a bulb jar works great
- Once the slips have adequate roots, plant them in the garden, this will take an average of 2 weeks
The cut and regrow technique is a great way of container gardening. It’s also an excellent way to limit grocery shopping and help combat global warming. You can keep the plants and vegetables close to the kitchen to keep you encouraged to grow more.
In Conclusion
Regrowing food again is not only fun but a great way to cut down on waste. Even saving the seeds will yield plants to last a life-time by seed saving and sharing with others. Once you re-pot the cuttings, check out this article Vermiculite vs. Perlite on how to use vermiculite and perlite in your plants’ soil.
Have you read our post on container gardening? You can find it Guide to container gardening. Or making your own compost which is crucial if you will be planting your cuttings, that can be found Making Compost Naturally into Garden Soil.
Using organic fertilizer is a must in our home, we have another great fertilizer if you are interested in watching a video on how to make your own manure tea fertilizer for gardens, be sure and check that out, warning, it may be graphic for some.
The USDA has a good article on Food Waste in the US, FAQ, be sure and visit them for more great information on food waste in the US.
If you are new to our community you may want to follow our whole journey from the beginning, please start with this introduction to our log cabin turned farmhouse on the mountain Log Cabin Farmhouse Introduction.
Please Join Us!
Thank you for stopping by and reading our blog. If you haven’t signed up for our newsletter, please take a moment and do so. We will not sell, share, or use your contact information.
We are also an ad-free blog to better serve you with a pleasant reading experience! After joining our community, we will not inundate you with unnecessary emails. Click the button below to join our community and receive our occasional newsletter.
Please see the footer for FBC Disclaimer, Privacy Policy, Terms, and Conditions.
Shop Here:
We are a participant with the Amazon Services LLC Associates Program, an affiliate advertising program designed to provide a means for us to earn fees by linking to Amazon.com and affiliated sites.
You will not incur extra fees or charges for using the links. We only recommend items we believe in and have tried. If I personally make or sell an item, I will mention this in the post for each item or items.
Berkey Water Filter can be found on Amazon
3 pack Hyacinth Flower Bulb Jars can be found on Amazon
Activated Charcoal can be found on Amazon
Net Cups can be found on Amazon
Let me know if you regrow your own food or if you will be trying it after reading this article. I hope you found it informative and would love it if you dropped me a comment and we hope you’ll consider subscribing to our newsletter?
Pingback: Easy Container Gardening In 7 Types Of Planters ⋆ Farmhouse-bc
Pingback: Fish Emulsion Fertilizer, How To Make And Use! ⋆ Farmhouse-bc
Pingback: Attract More Butterflies In 10 Easy Tips! ⋆ Farmhouse-bc
Pingback: Elderberry Vs Pokeberry-the Shocking Difference Of The 2! ⋆ Farmhouse-bc
Pingback: Hanging Flower Basket ⋆ Farmhouse-bc
Pingback: Oyas And Ollas Made Easy For Your Garden ⋆ Farmhouse-bc
Pingback: Seed Organization In 6 Amazingly Simple Ways ⋆ Farmhouse-bc
Pingback: 5 Shocking Reasons To Buy Dollar Tree Seeds ⋆ Farmhouse-bc
Pingback: Growing Millet Easily For Birds ⋆ Farmhouse-bc
Pingback: Hügelkultur Raised Beds ⋆ Farmhouse-bc
Pingback: How to Make and Use Garam Masala ⋆ Farmhouse-bc
Pingback: Gardening Tips for beginners ⋆ Farmhouse-bc
Pingback: How to make fermented red onions - Farmhouse Basic Collection.
Pingback: Fermented coleslaw recipe - Farmhouse Basic Collection.
Pingback: Fermented carrots for gut health - Farmhouse Basic Collection.
Nice blog! Is your theme custom made or did you download it from somewhere? A design like yours with a few simple tweeks would really make my blog shine. Please let me know where you got your design. Kudos
Pingback: The best 12 mosquito repellent plants - Farmhouse Basic Collection.
Pingback: Vermiculite vs. Perlite - Farmhouse Basic Collection.
Unfortunately, plant cuttings and such skipped a generation, I take after my nanny (grandmother) for plants, sewing, etc. I take after my mom in writing and cleaning 🙂 I did a follow-up post to this with “how to control gnats and fruit flies naturally”, which tend to happen when you have cuttings in water-thanks again Jenn for your comments!
Very informative as always! This makes me think of my mom, she is a plant lady. She would always have a start of some sort of plant going on her kitchen windowsill. I need to make this a habit in my life!
Pingback: How to control gnats and fruit flies naturally - Farmhouse Basic Collection.